Hey guys! I have been wanting to refresh my guest bathroom for some time now, and finally took the initiative to get it done. While my bathroom was beautiful before, it just didn’t fit my personal style and was a little too bold with the colors that I originally chose for the space. I wanted to tone down the bold colors and go with something a little more neutral that matched the style of the rest of my home while creating a more inviting and functional space for our guests.

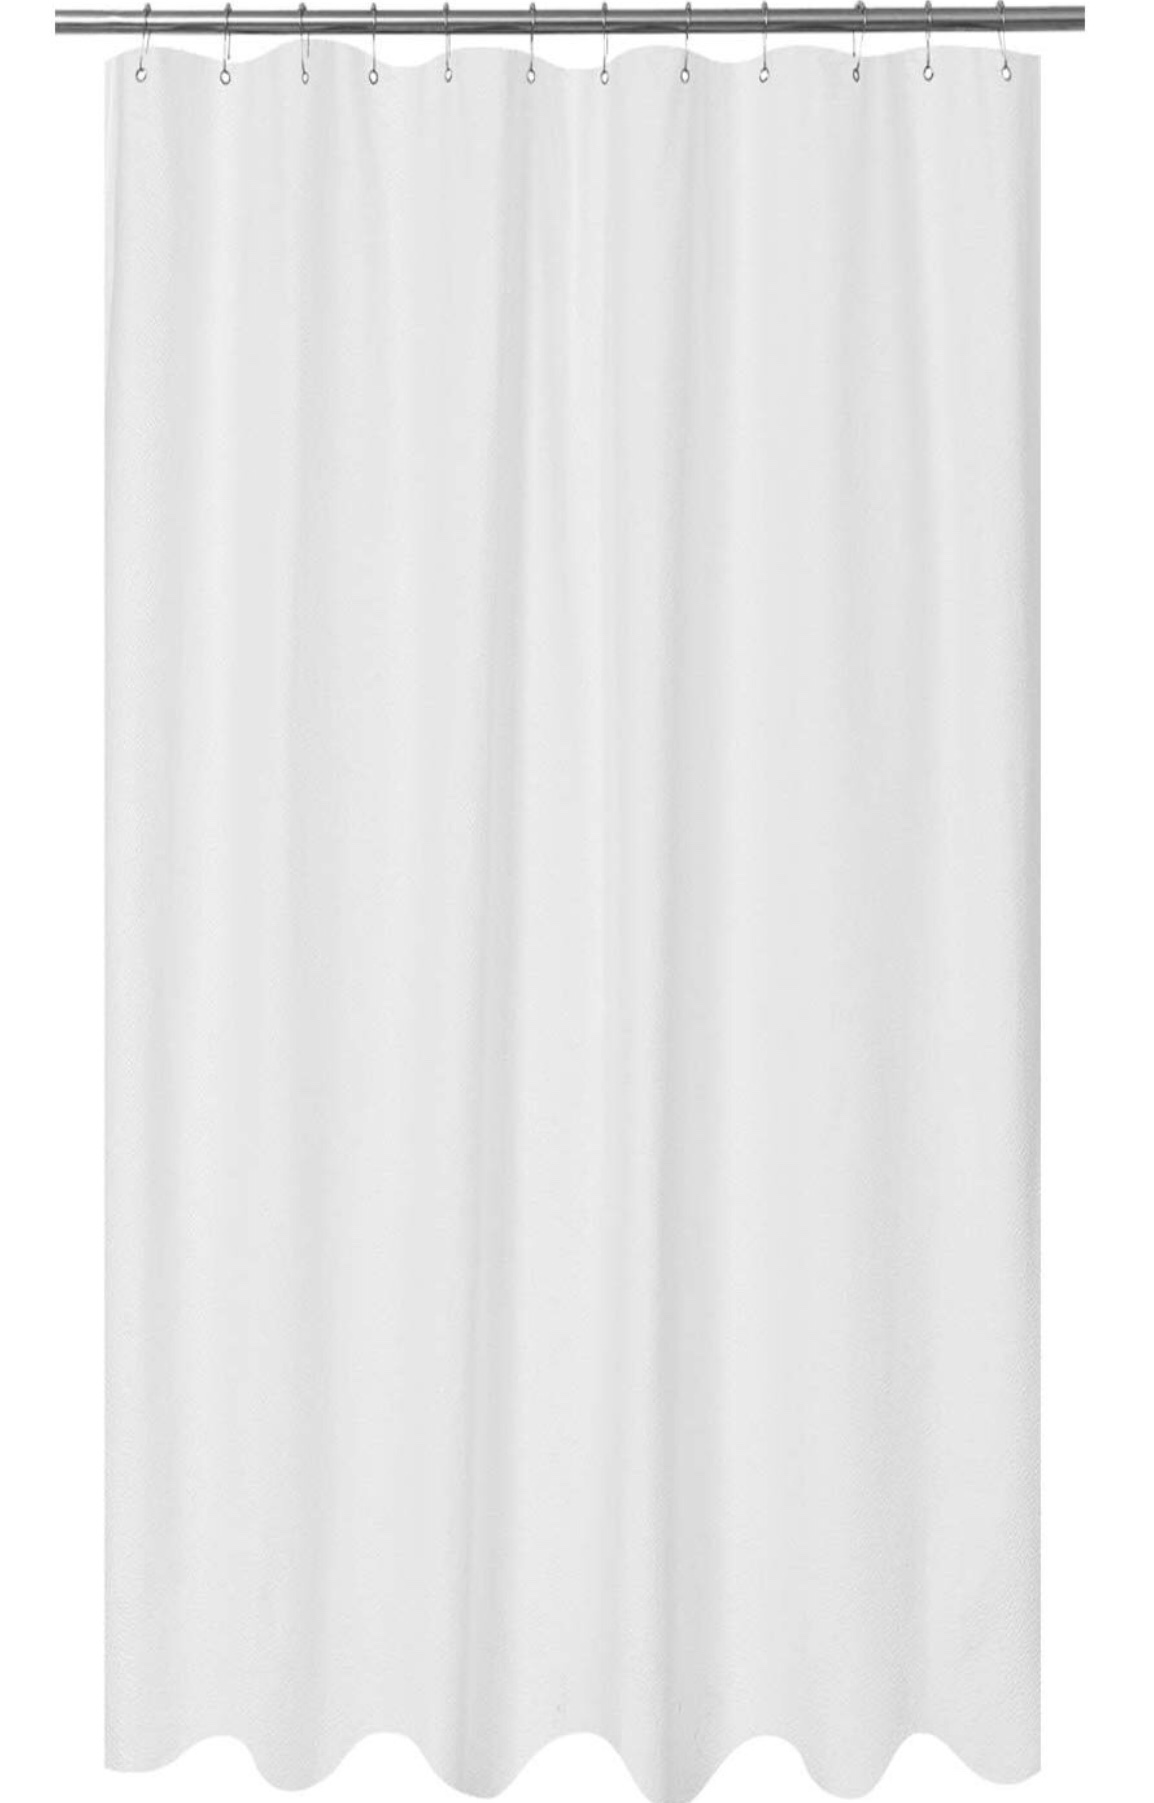
I started this process by coming up with a budget of $100 to do a complete revamp. Next, I started doing research and getting inspiration of what my ideal bathroom would look like; I usually get my inspiration from Pinterest or other interior design Instagram accounts and screen shot or pin those ideas so that I can reference them at any time. As I mentioned before, I wanted to create a more inviting and functional space for our guests so I decided to add some floating wall shelves to put towels and toiletries on so that our guests would not have to go through our cabinets and linen closet if they needed anything. I also wanted to go with a neutral color palette and create a more dramatic look with the shower curtain. I began my search by looking up guest bathrooms with floating shelves and found some really great inspiration and ideas of where I could find the items that I wanted to purchase. Through my search, I decided to do a 96” shower curtain to create that dramatic look that I was going for, and to stay within budget, I decided to use some of the accent pieces and art that I already had. I also wanted to have some pop of color and decided to add some small plants to give the room some vibrancy.

After doing my research and getting an idea of exactly how I wanted my bathroom to look, I created my design board which allowed me to play around with a couple of different ideas and to get a visual of what my bathroom would ultimately look like. I created my design board by using PowerPoint and I screen grabbed the items for my bathroom based on the inspiration that I got from Pinterest and Instagram.

*Design tip: Always measure your space before making a purchase to ensure that the item will fit. This will save you time and money!
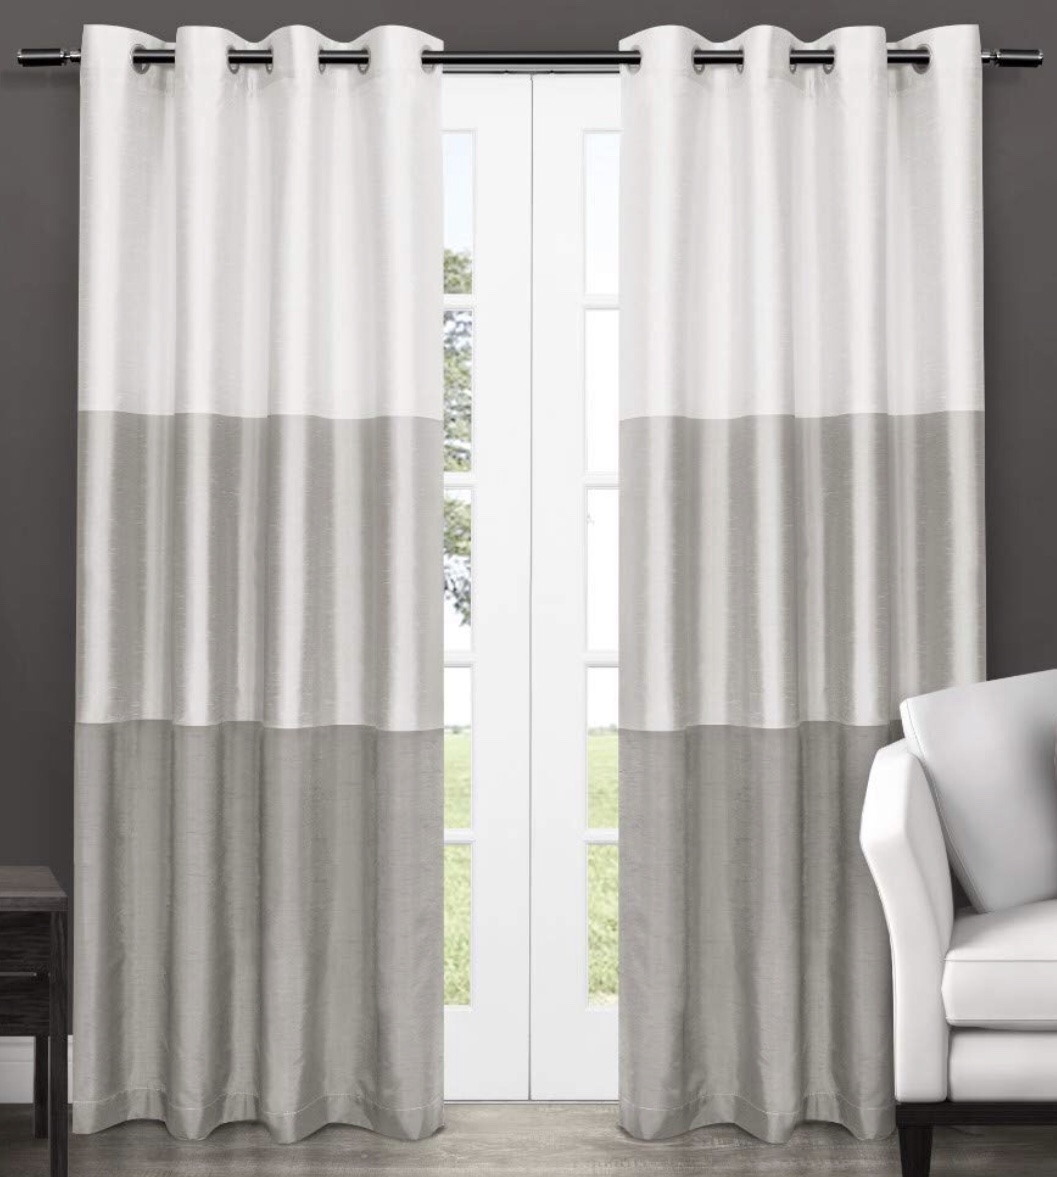
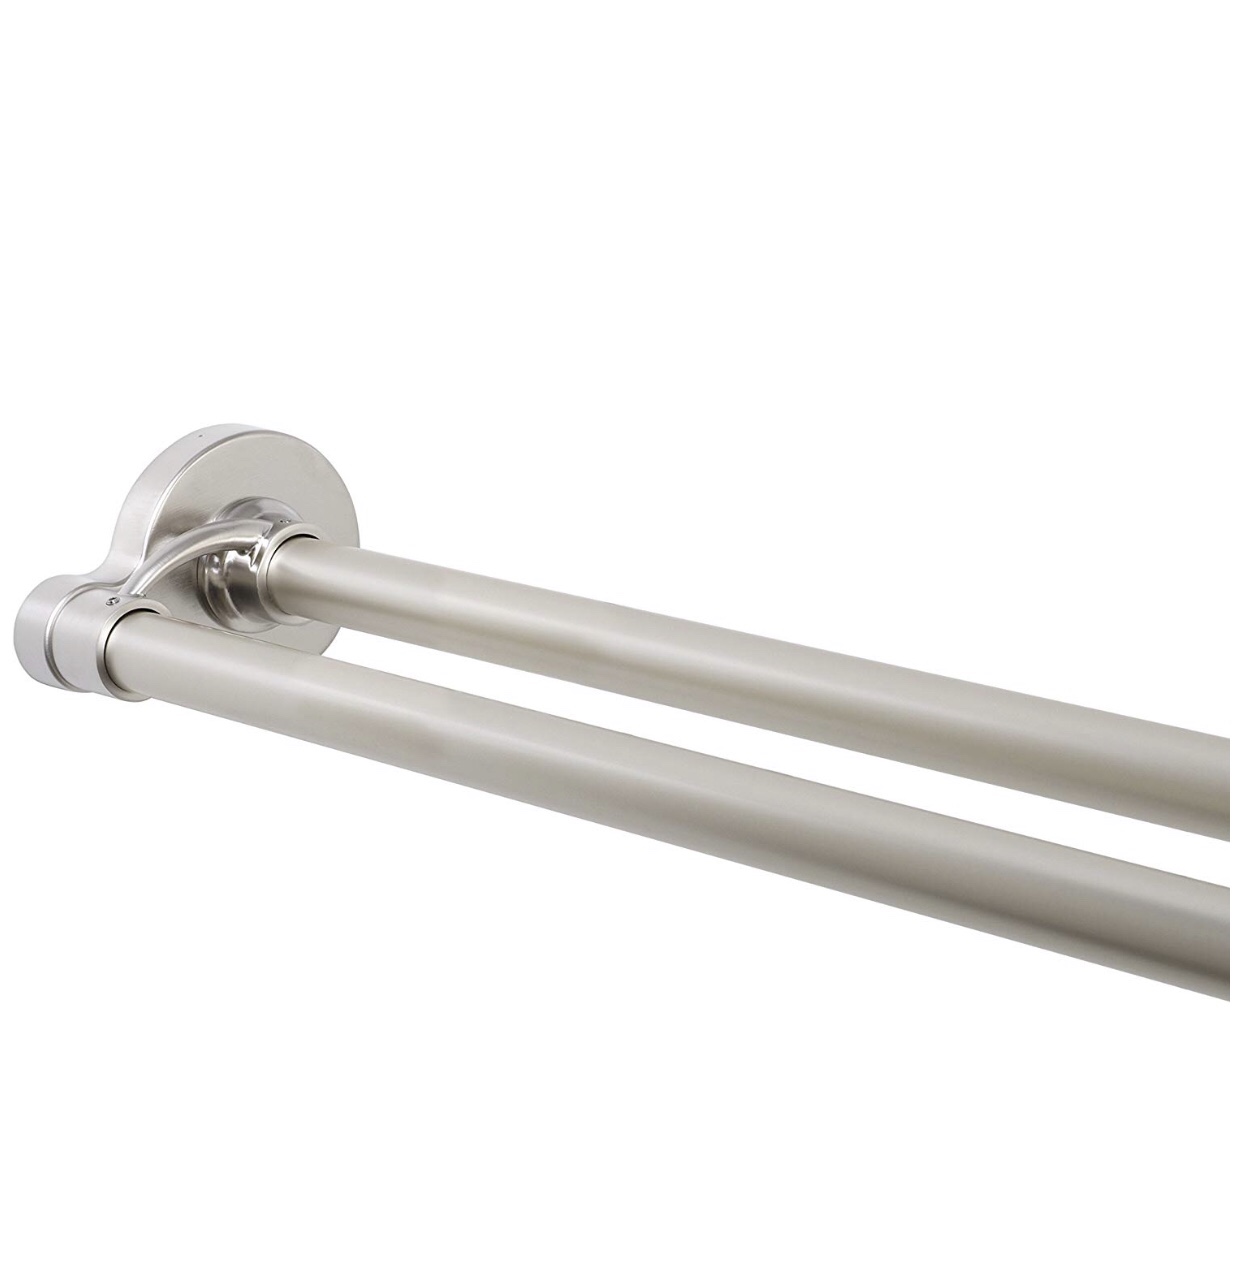
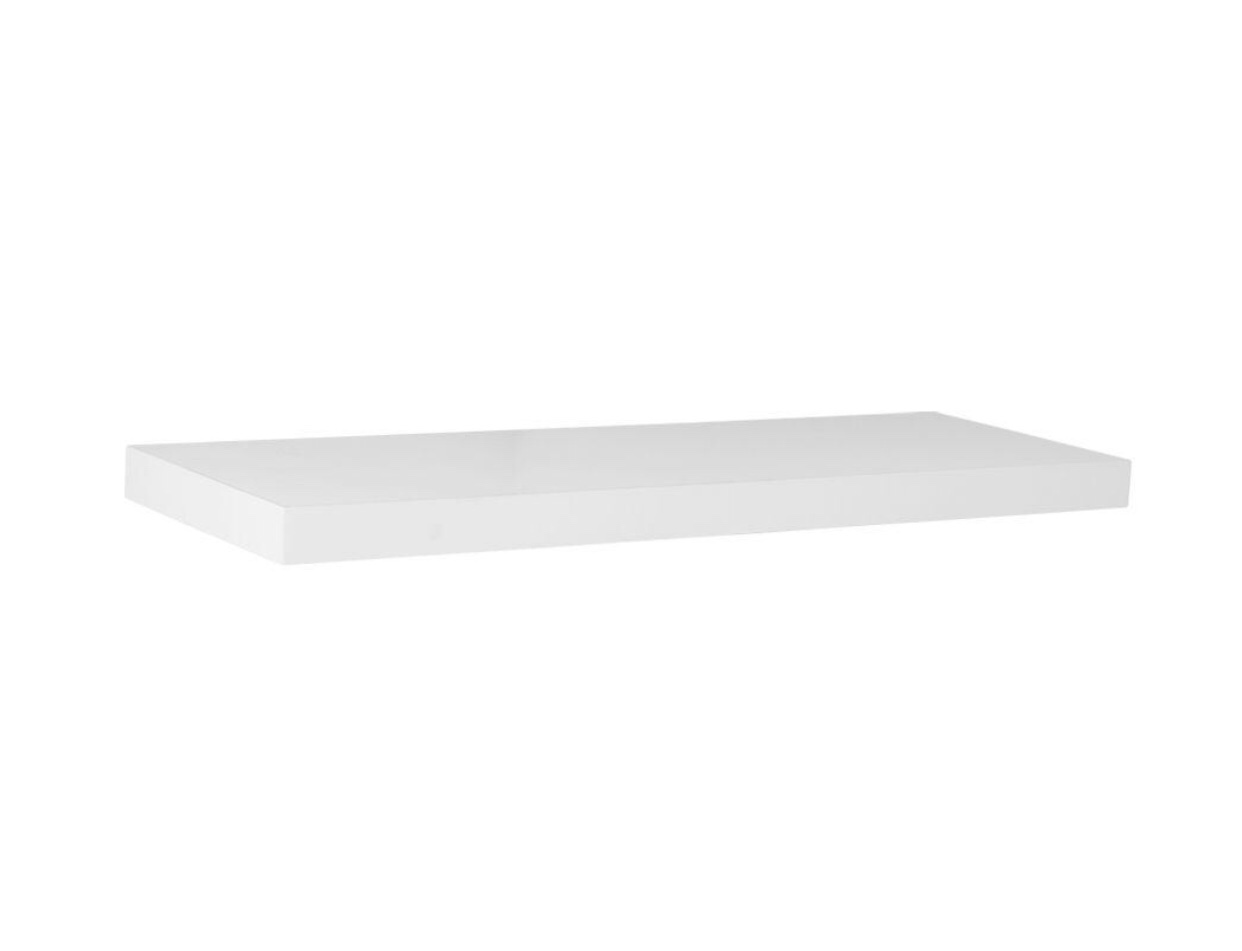
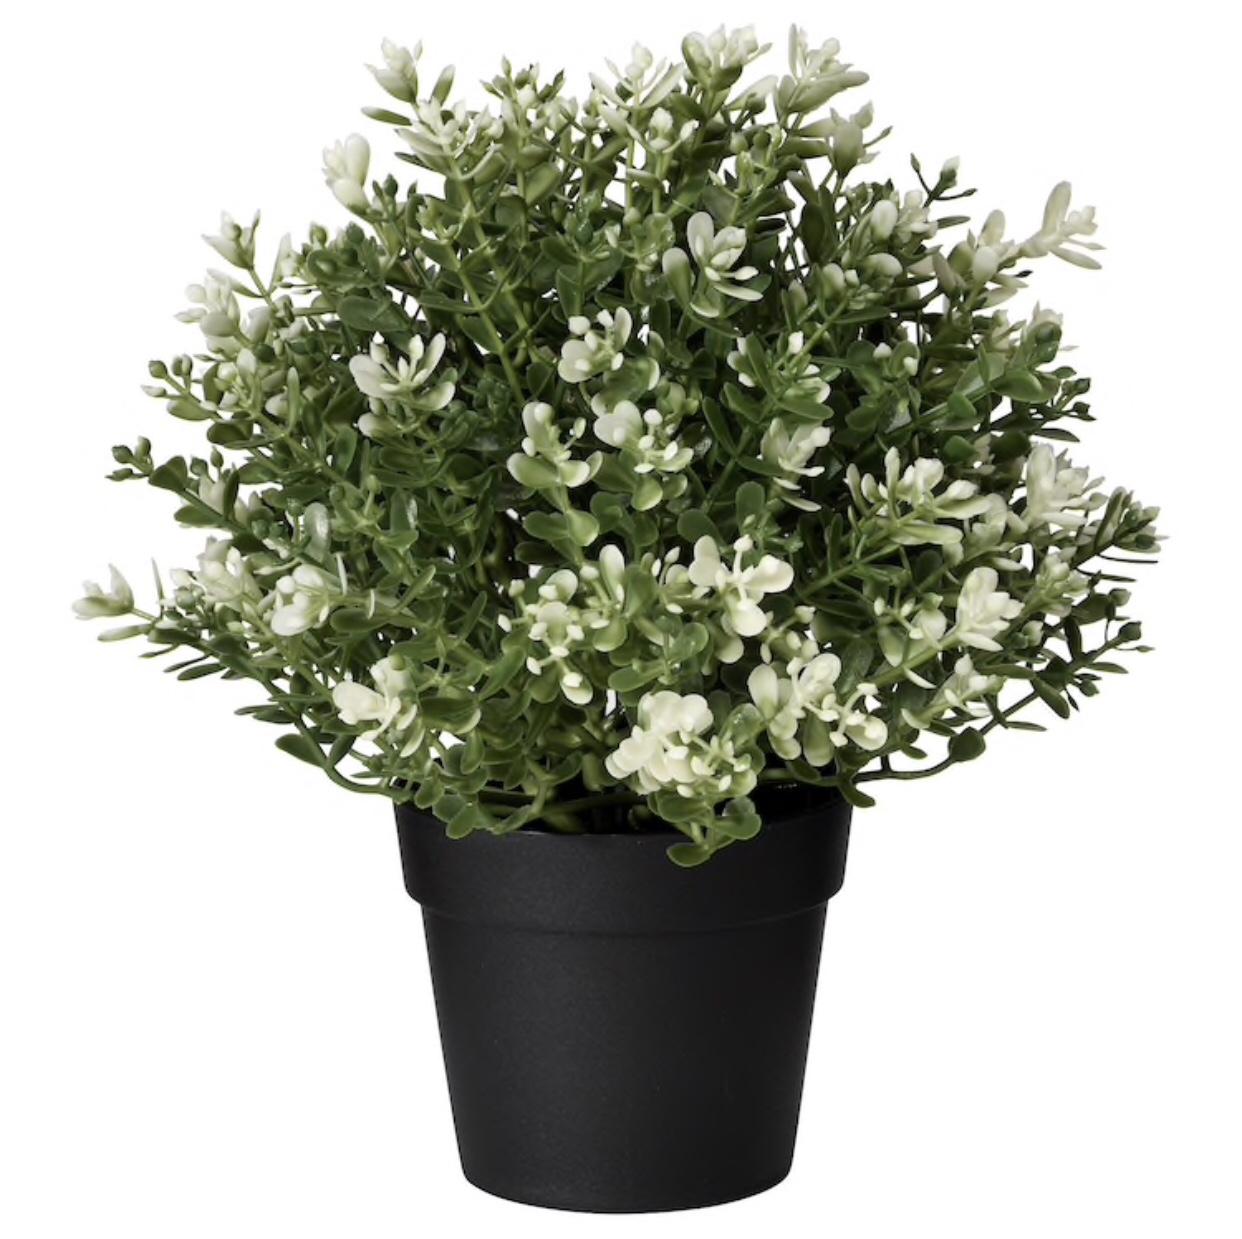
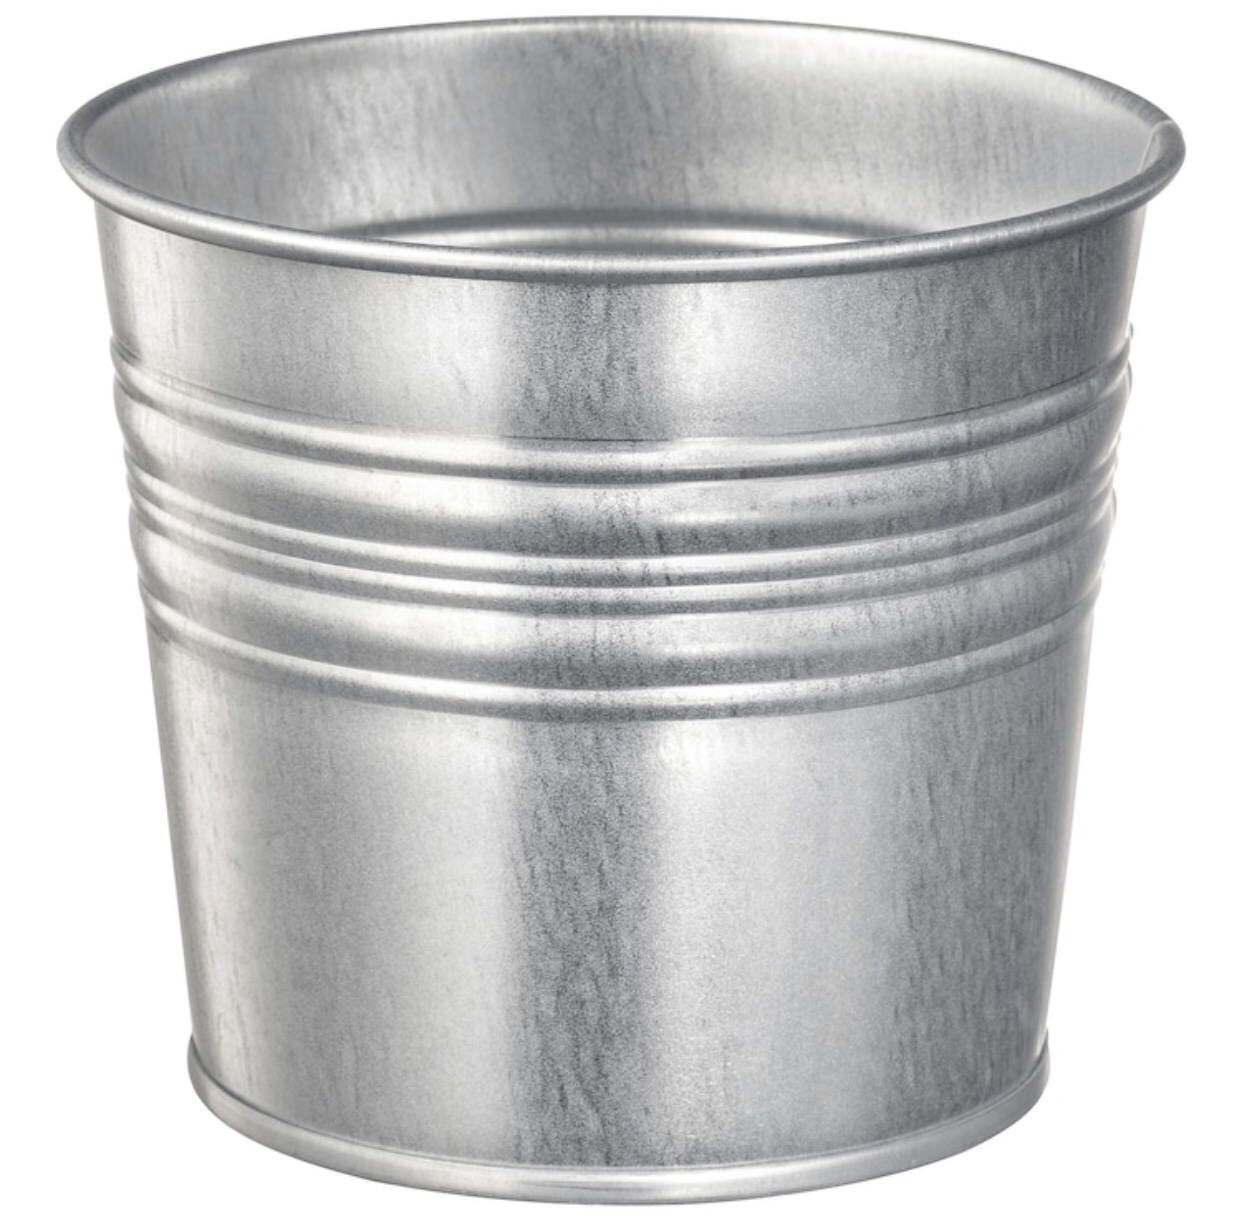
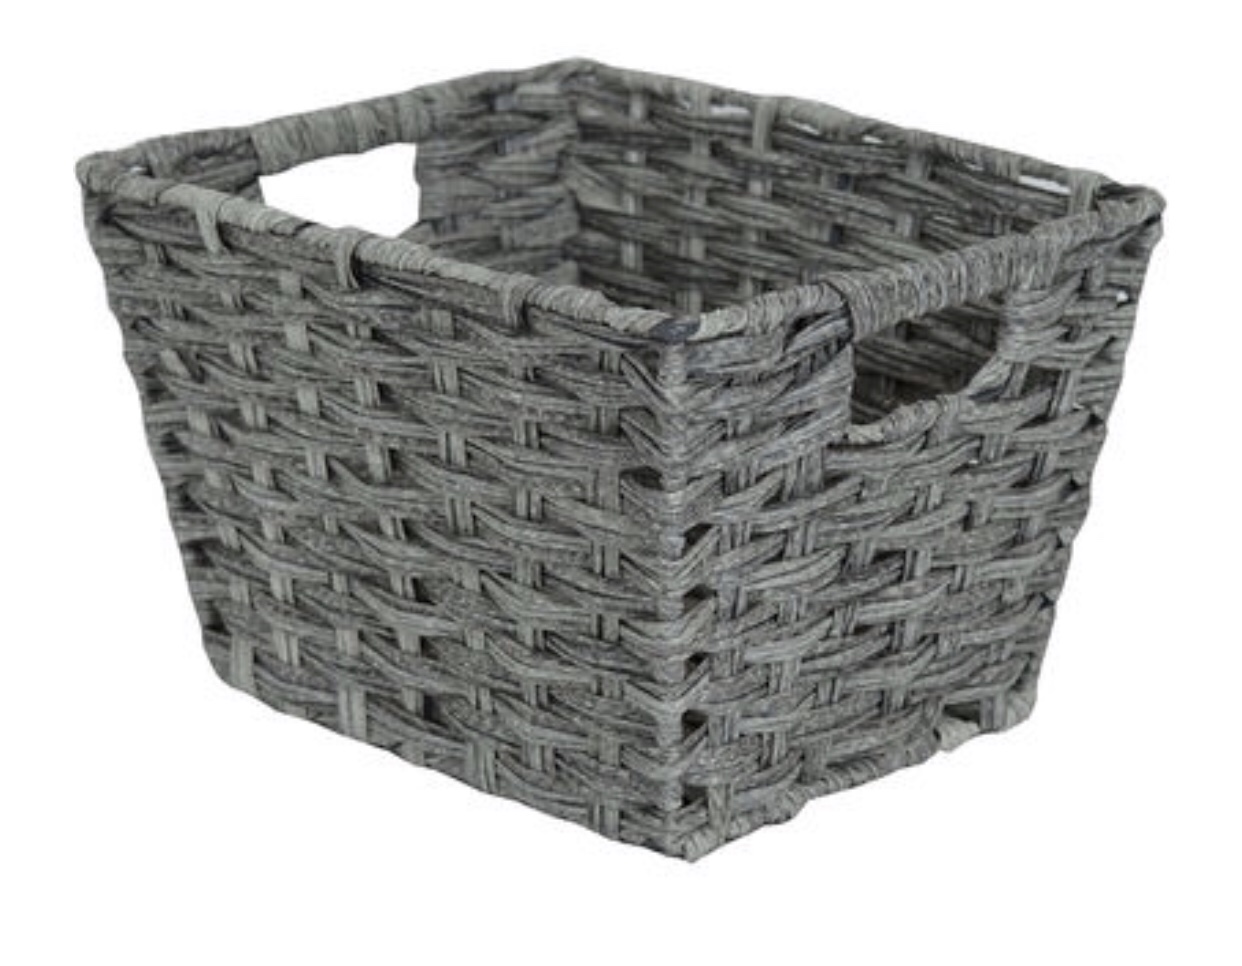
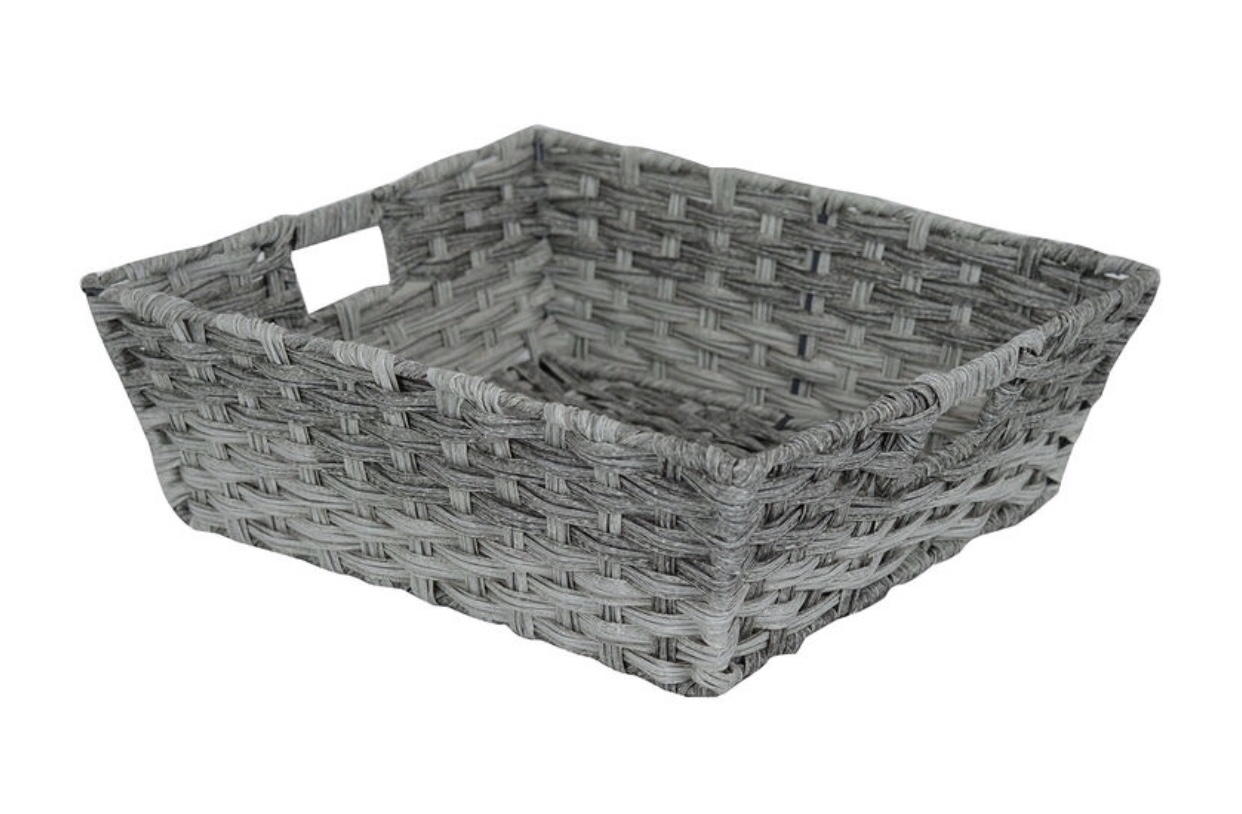
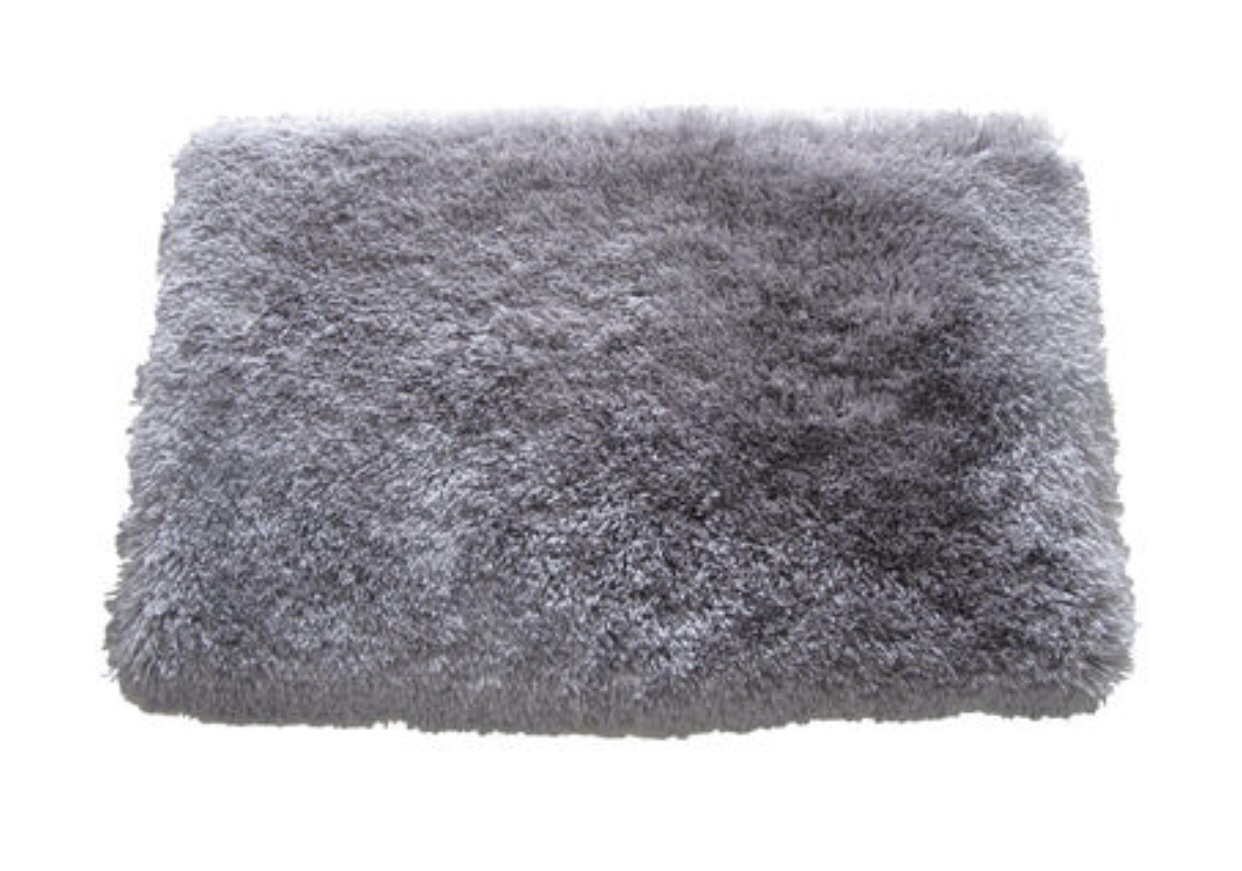
After I created my design board, I started doing my research to find the best deals online. I usually do most of my research online, and make my purchases in store or do the purchase online/pick up in store option if possible to avoid shipping costs and to get the items quicker. After much research for the floating shelves, I found that Home Depot had the best price at $16.78 each for the 24” width shelf, and I got 2 in order to fill up my wall space. I then started my search for an extra long shower curtain. As I mentioned, I wanted something a little more neutral in color so I decided to go with a grey palette. It was very difficult to find what I was looking for in an extra long shower curtain so I ultimately went with regular curtain panels that I found on Amazon. Of course, I also needed to find an extra long shower curtain liner and needed a new shower rod to hold 2 rows of curtains since I ended up getting the curtain panels. I spent $88 on all three of the items and got free shipping. I also found some small plants from Ikea while making a stop there, and got two plants and small plant holders for about $15. To round out my shopping, I found a new rug and small storage baskets at At Home for about $50.
*Budget friendly tip: If purchasing from Amazon, choose the “Buy Used” option to save money. The products are typically ‘like new’ and only have torn or ripped packaging.
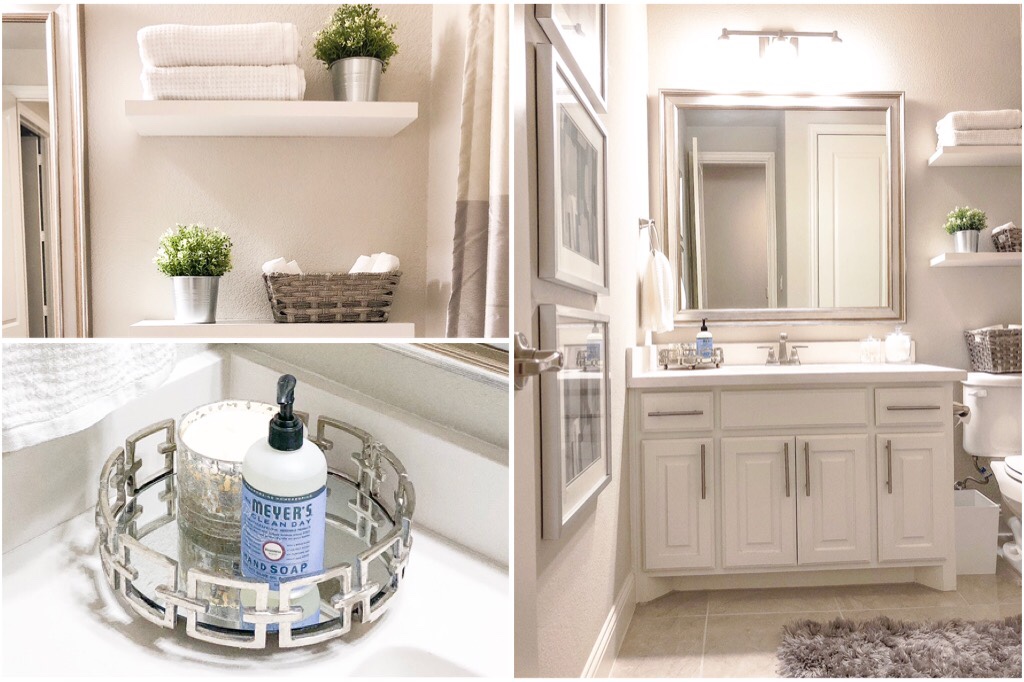
Now the fun part; execution! I started my refresh by replacing my rather large piece of art with 3 smaller pieces of art that I hung vertically (these art pieces were in a guest bedroom that I plan on refreshing next!)The large art covered the entire wall horizontally, but didn’t cover much vertically. By adding the smaller pieces, spaced out evenly on the wall, I was able to create balance and symmetry and still achieved the toned down look that I wanted.


Next, I started on the floating shelves. There was a towel rack on the wall where I planned to put the shelves so it had to be removed. We never used the towel rack and felt like the wall space could have been put to better use which is why I decided on adding the shelves. To my surprise, when I removed the towel rack, there were 4 nickel sized holes left in the wall.

At this point, I had to go into uncharted territories of repairing dry wall. I did my research online and watched several YouTube videos which led me into buying a drywall spackle repair kit, which I found at Home Depot for about $9. I used the spackle to cover the holes and let them dry overnight. Once the spackle was dry I sanded it down and painted over it using some touch up paint that our home builder left us when we closed on our home.

Now I could finally start hanging my shelves. I first measured exactly where on the wall I wanted both shelves to hang and made sure that they were evenly spaced out and filled the wall appropriately. I marked these spots on the wall with a pencil. I then used the shelf base to pencil in where the holes needed to be drilled on the wall and ensured that the shelf was level using the measure app on my phone. Once that was complete for both shelves, I started drilling the holes in the wall and inserted wall anchors into the holes. I then secured the shelf bases on the wall by drilling screws into the wall anchors, and then to finish I slid the shelves onto the bases and secured the shelves with screws into the base (luckily, the shelves that I bought came with all of the tools and simple instructions for installation). To complete the look, I added a basket with hand towels, the small plants from Ikea and large towels for our guests to use after showering.


The last bit of labor work was to install the shower curtain rod and hang the curtains. I had to enlist the help of my husband at this point because I am not tall enough to install a curtain rod 96” off of the ground. The rod that I got was a tension rod so the installation was super easy. We went ahead and put the curtain panels on the rod before we installed it because they did not hang with hooks, but rather slid on the rod through grommets. Once we measured exactly where we wanted it hung, we basically twisted the rod against the wall until it was tight enough to hold itself up. After that, I hooked the shower curtain liner on the second row of the rod and pushed it behind the curtain panel on one side so that it wasn’t visible.


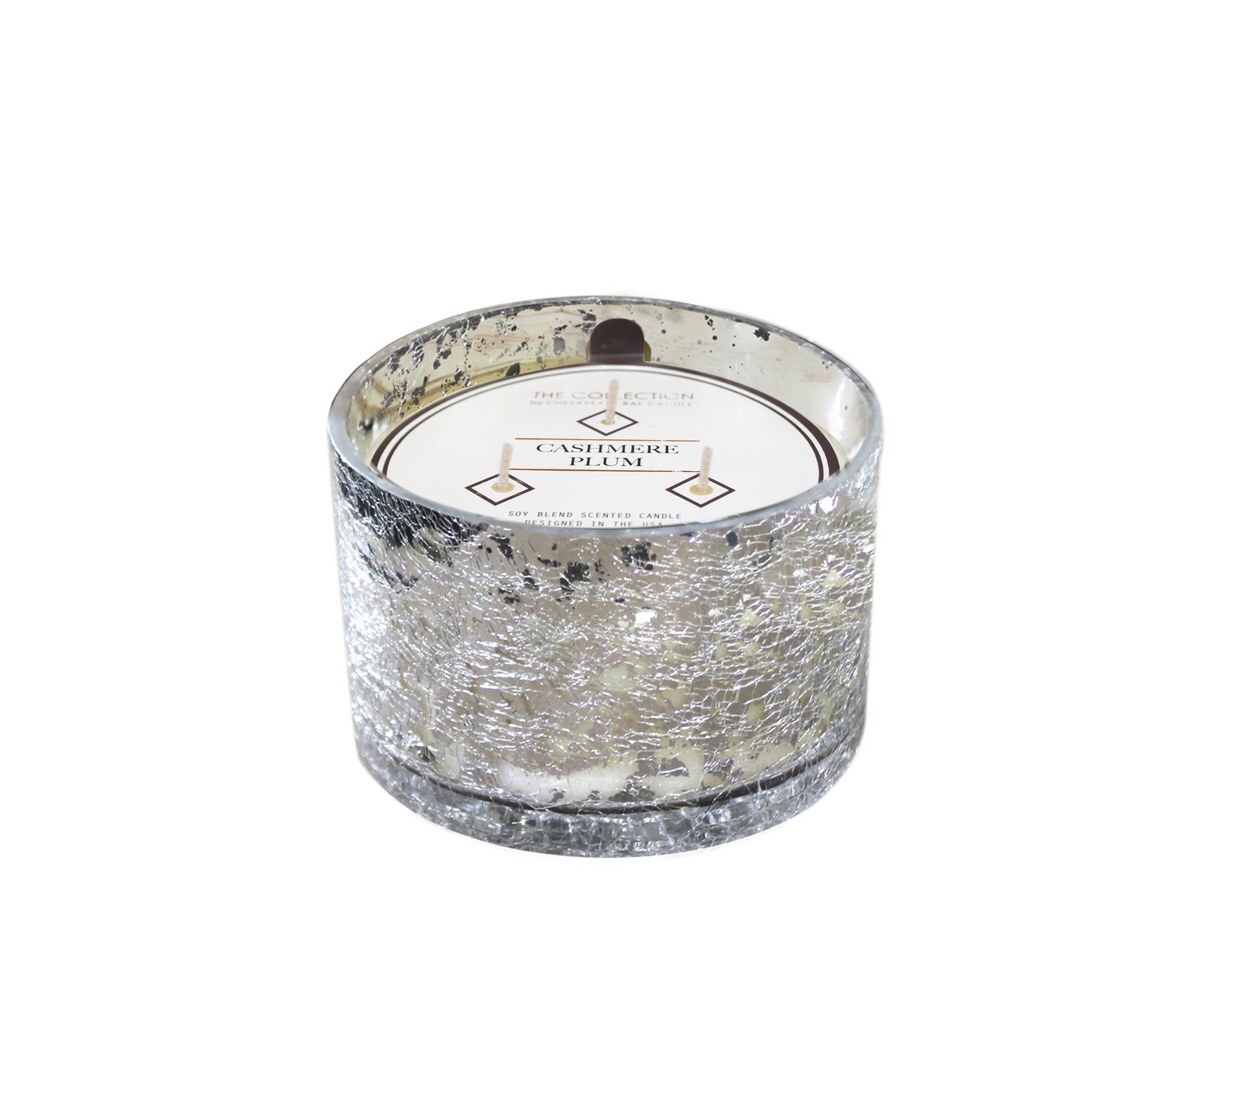
To finish off, I rearranged the accessories on the counter to be more organized and less cluttered.


My bathroom refresh was finally complete! The very last thing I did was review my budget to make sure I stayed within my limit.
Shelves $16.78 x 2 = $33.56
Curtains, liner and rod $88
Plants and holders $15
Rug and baskets $50
Spackle repair kit $9
TOTAL $195.56
I know what you are thinking; I went over my budget by nearly double, right?! Well, remember that large piece of art that was in my bathroom before? I was able to sell it for $100 on a Facebook garage sale site so I actually ended up coming in under budget by $4.44!
*Budget friendly tip: Don’t be afraid to try and sell your old items; someone will almost always be interested in something that you no longer have interest in.
Thank you for visiting my blog, and I can’t wait to share my next refresh with you guys!
Links to all items are below.
♥️ Talisha
