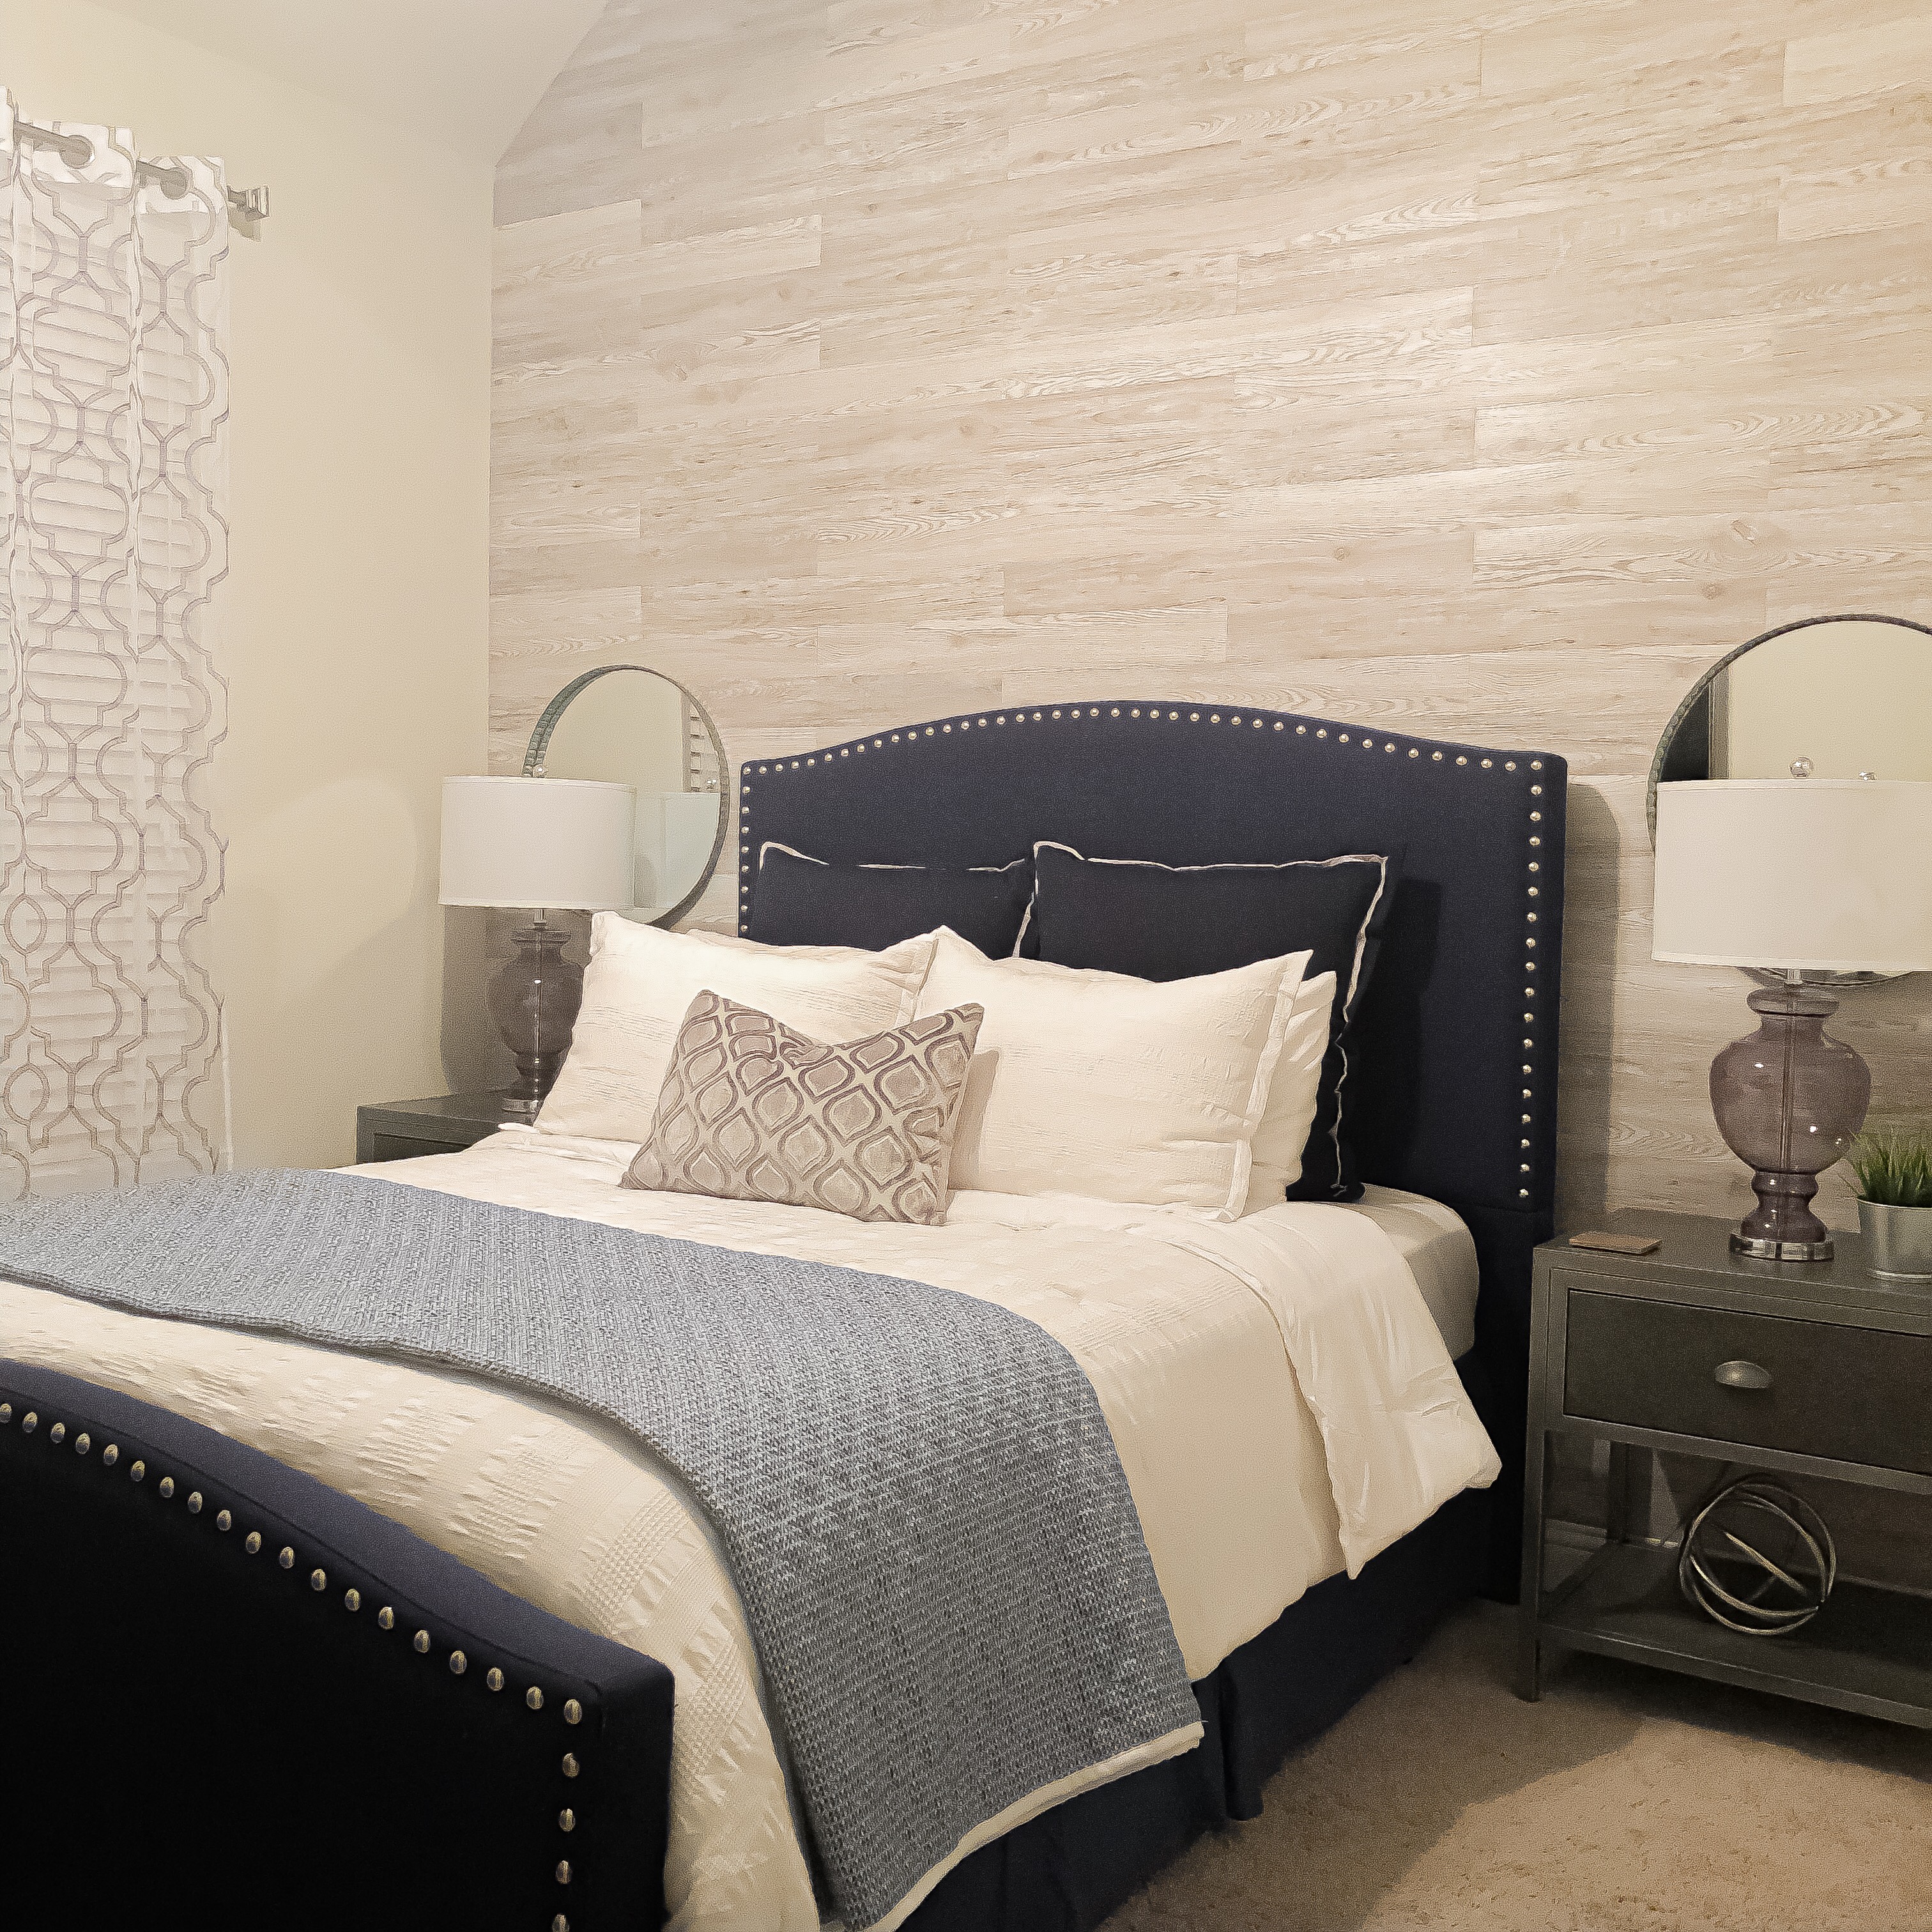
Hey guys! It’s been a while since I’ve done a blog post; I have been slowly getting my guest bedroom refresh complete over the last couple of months, and I wanted to share a very important part of my refresh with you all before I share the whole room….My wood accent wall!
I was so impressed with how easy it was to install these wood planks and how much of an impact the wall made on the entire room. I really wanted to create an accent wall that fit with the modern rustic vibe that I was going for with the room, and I happened to come across E-Z Wall on Instagram. I immediately knew that their peel & stick wall planks would be a perfect fit for the look that I wanted to achieve and a great DIY project. They don’t have a website to order directly from, but their products are available on Wayfair.com.
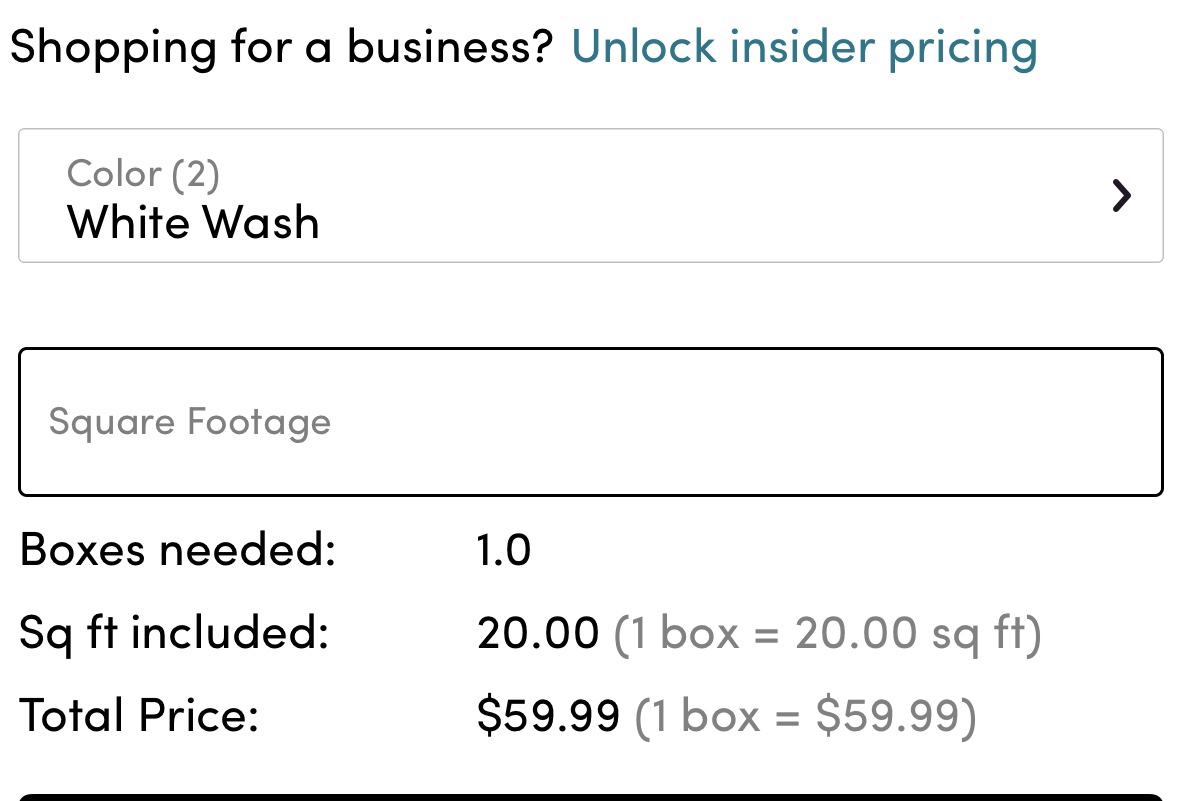
I ordered the planks on Way Day, and got a pretty amazing deal on them! They offer two colors; White Wash (white/grey tones) and Assorted (brown tones). I ordered the White Wash which are perfect for the grey and neutral tones in my home. Wayfair also made it super easy to figure out how many boxes I needed, as one box is equivalent to 20 sq ft. I put the total square footage in (height of wall x width of wall) and it calculated the number of boxes that I needed to order to ensure I had enough planks to cover my wall space. I was also very impressed that the order shipped out and delivered within 5 business days!
Once the boxes arrived I had to leave them in the room for 48 hours to get acclimated to the temperature of the room to prevent shrinkage and warping. The wall that I installed the planks on was bare drywall so I didn’t have to do much prepping besides making sure that it was free of dust particles. The planks also came in a few variations in color so before I started I made sure to separate each color into a pile. Once I wiped the wall down with a damp towel and made the color piles I was able to start applying the planks.
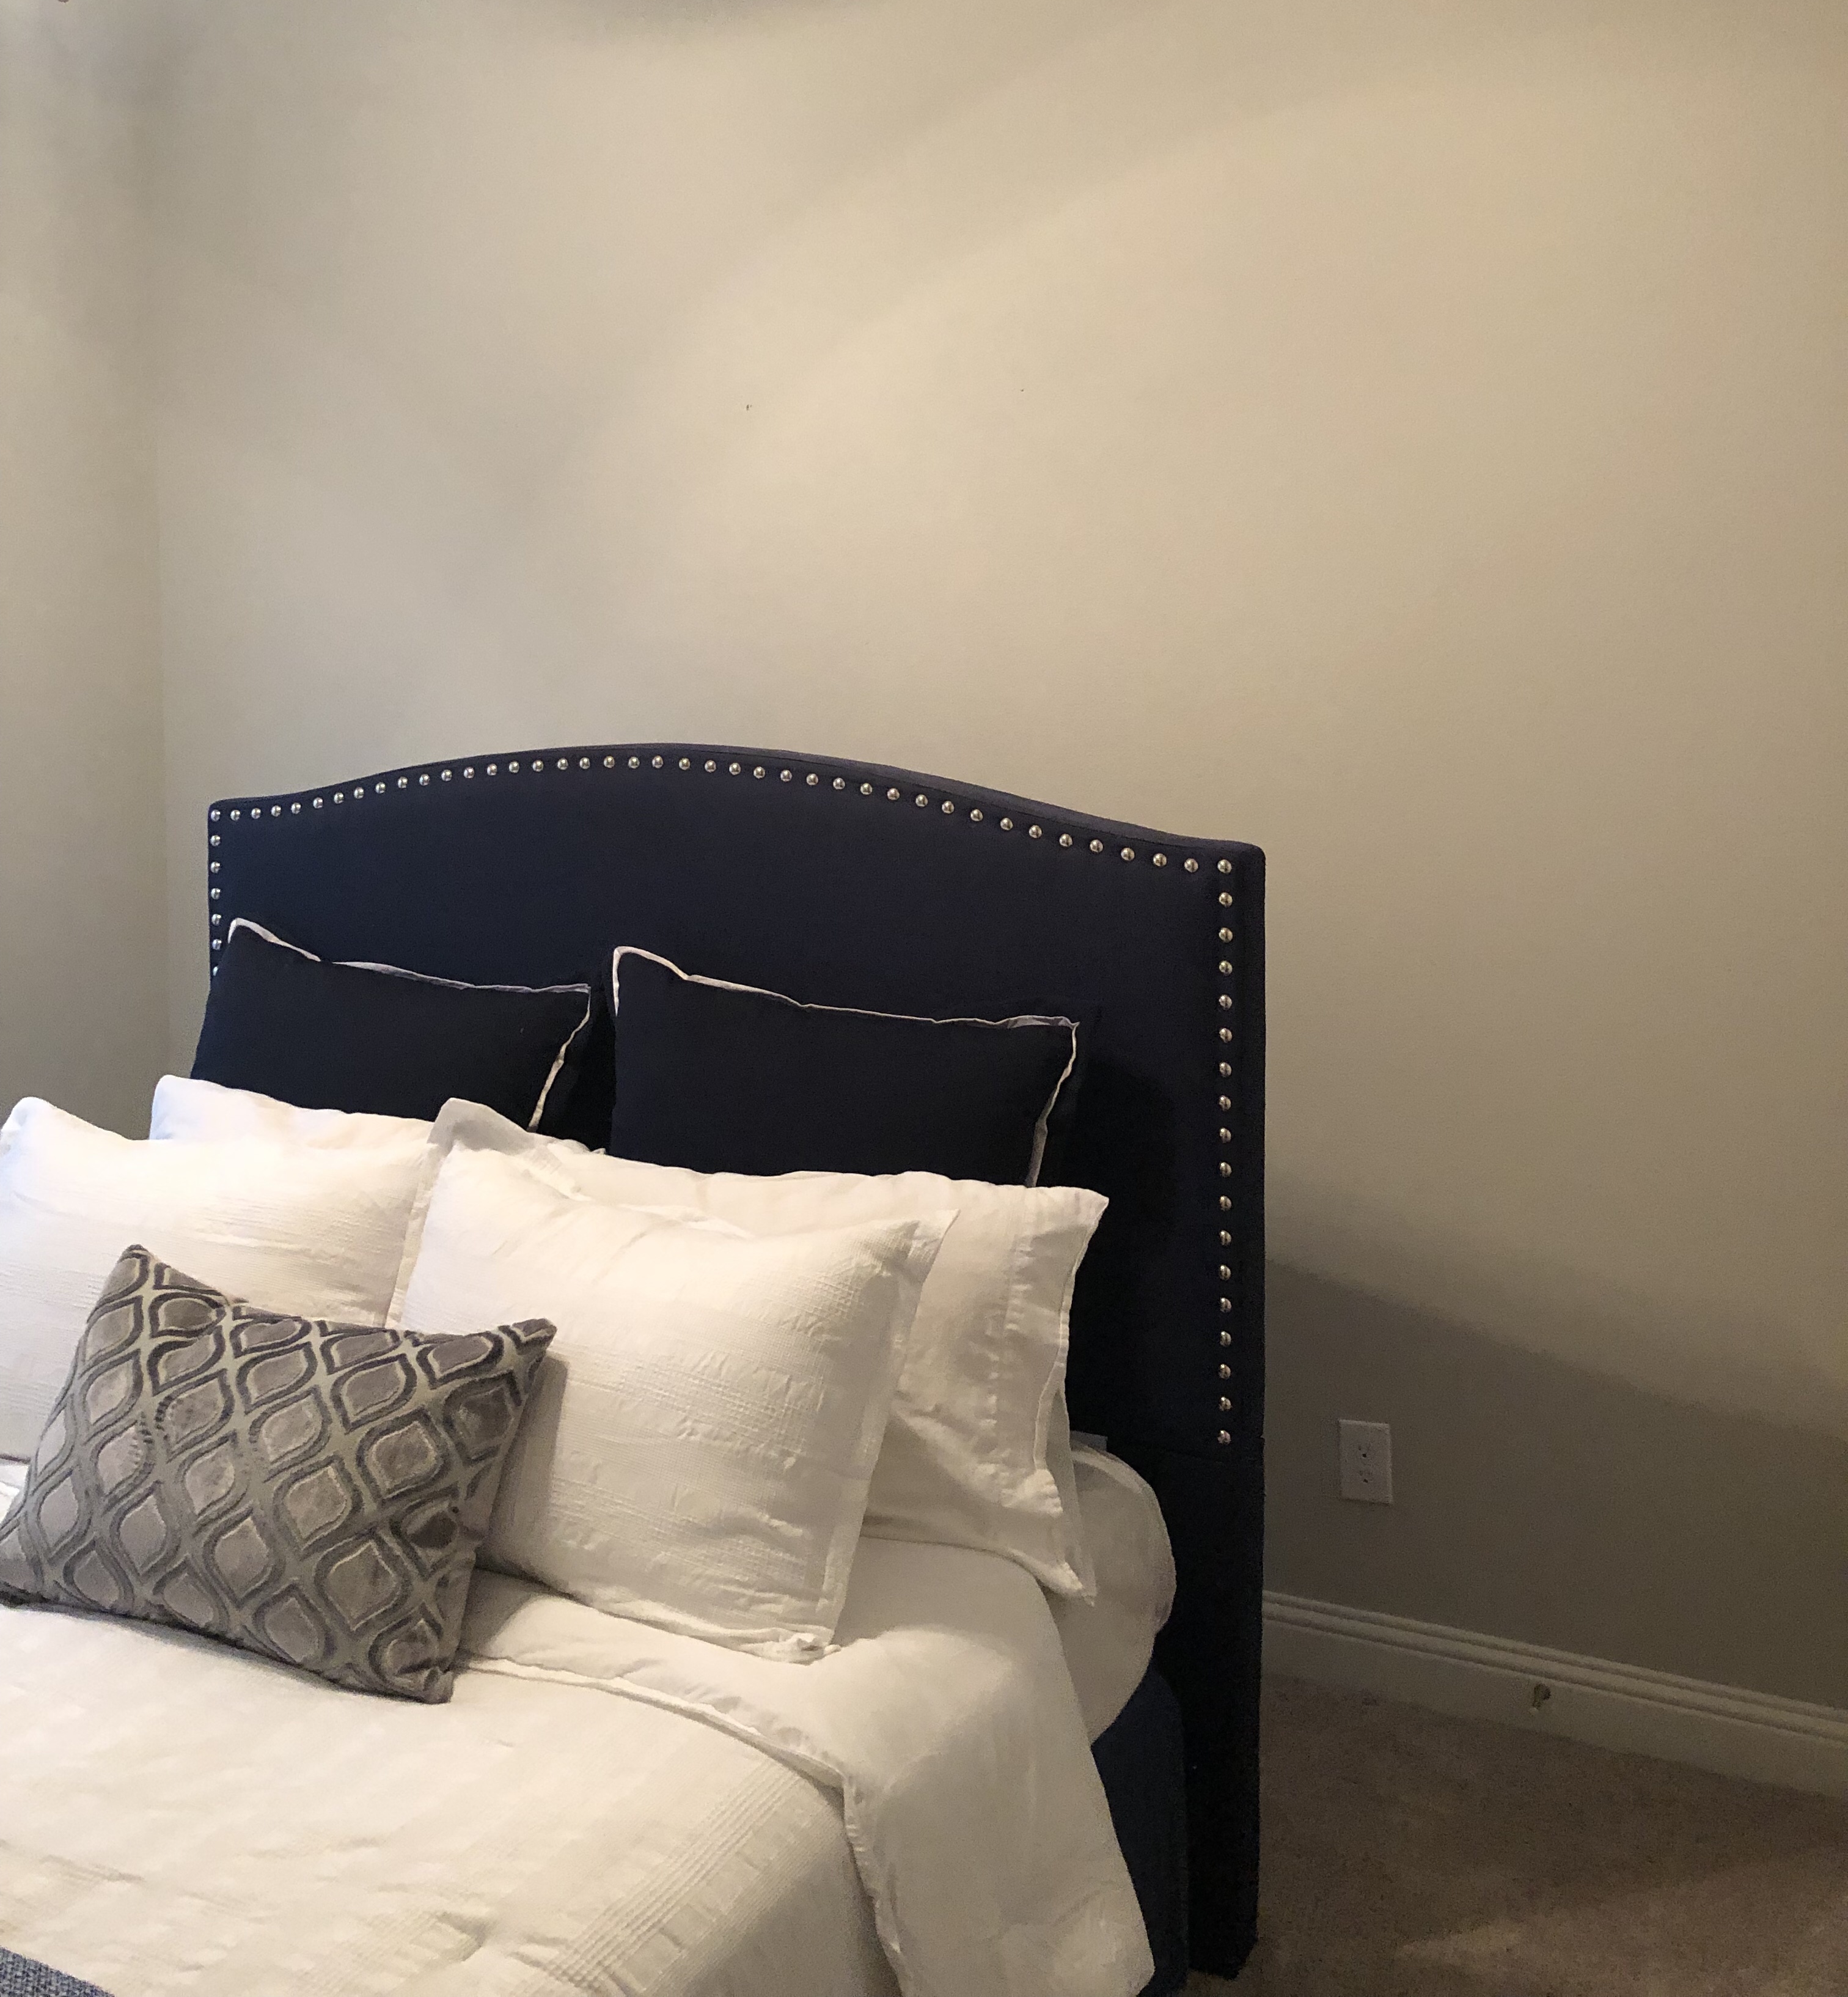
Bare wall before wood planks
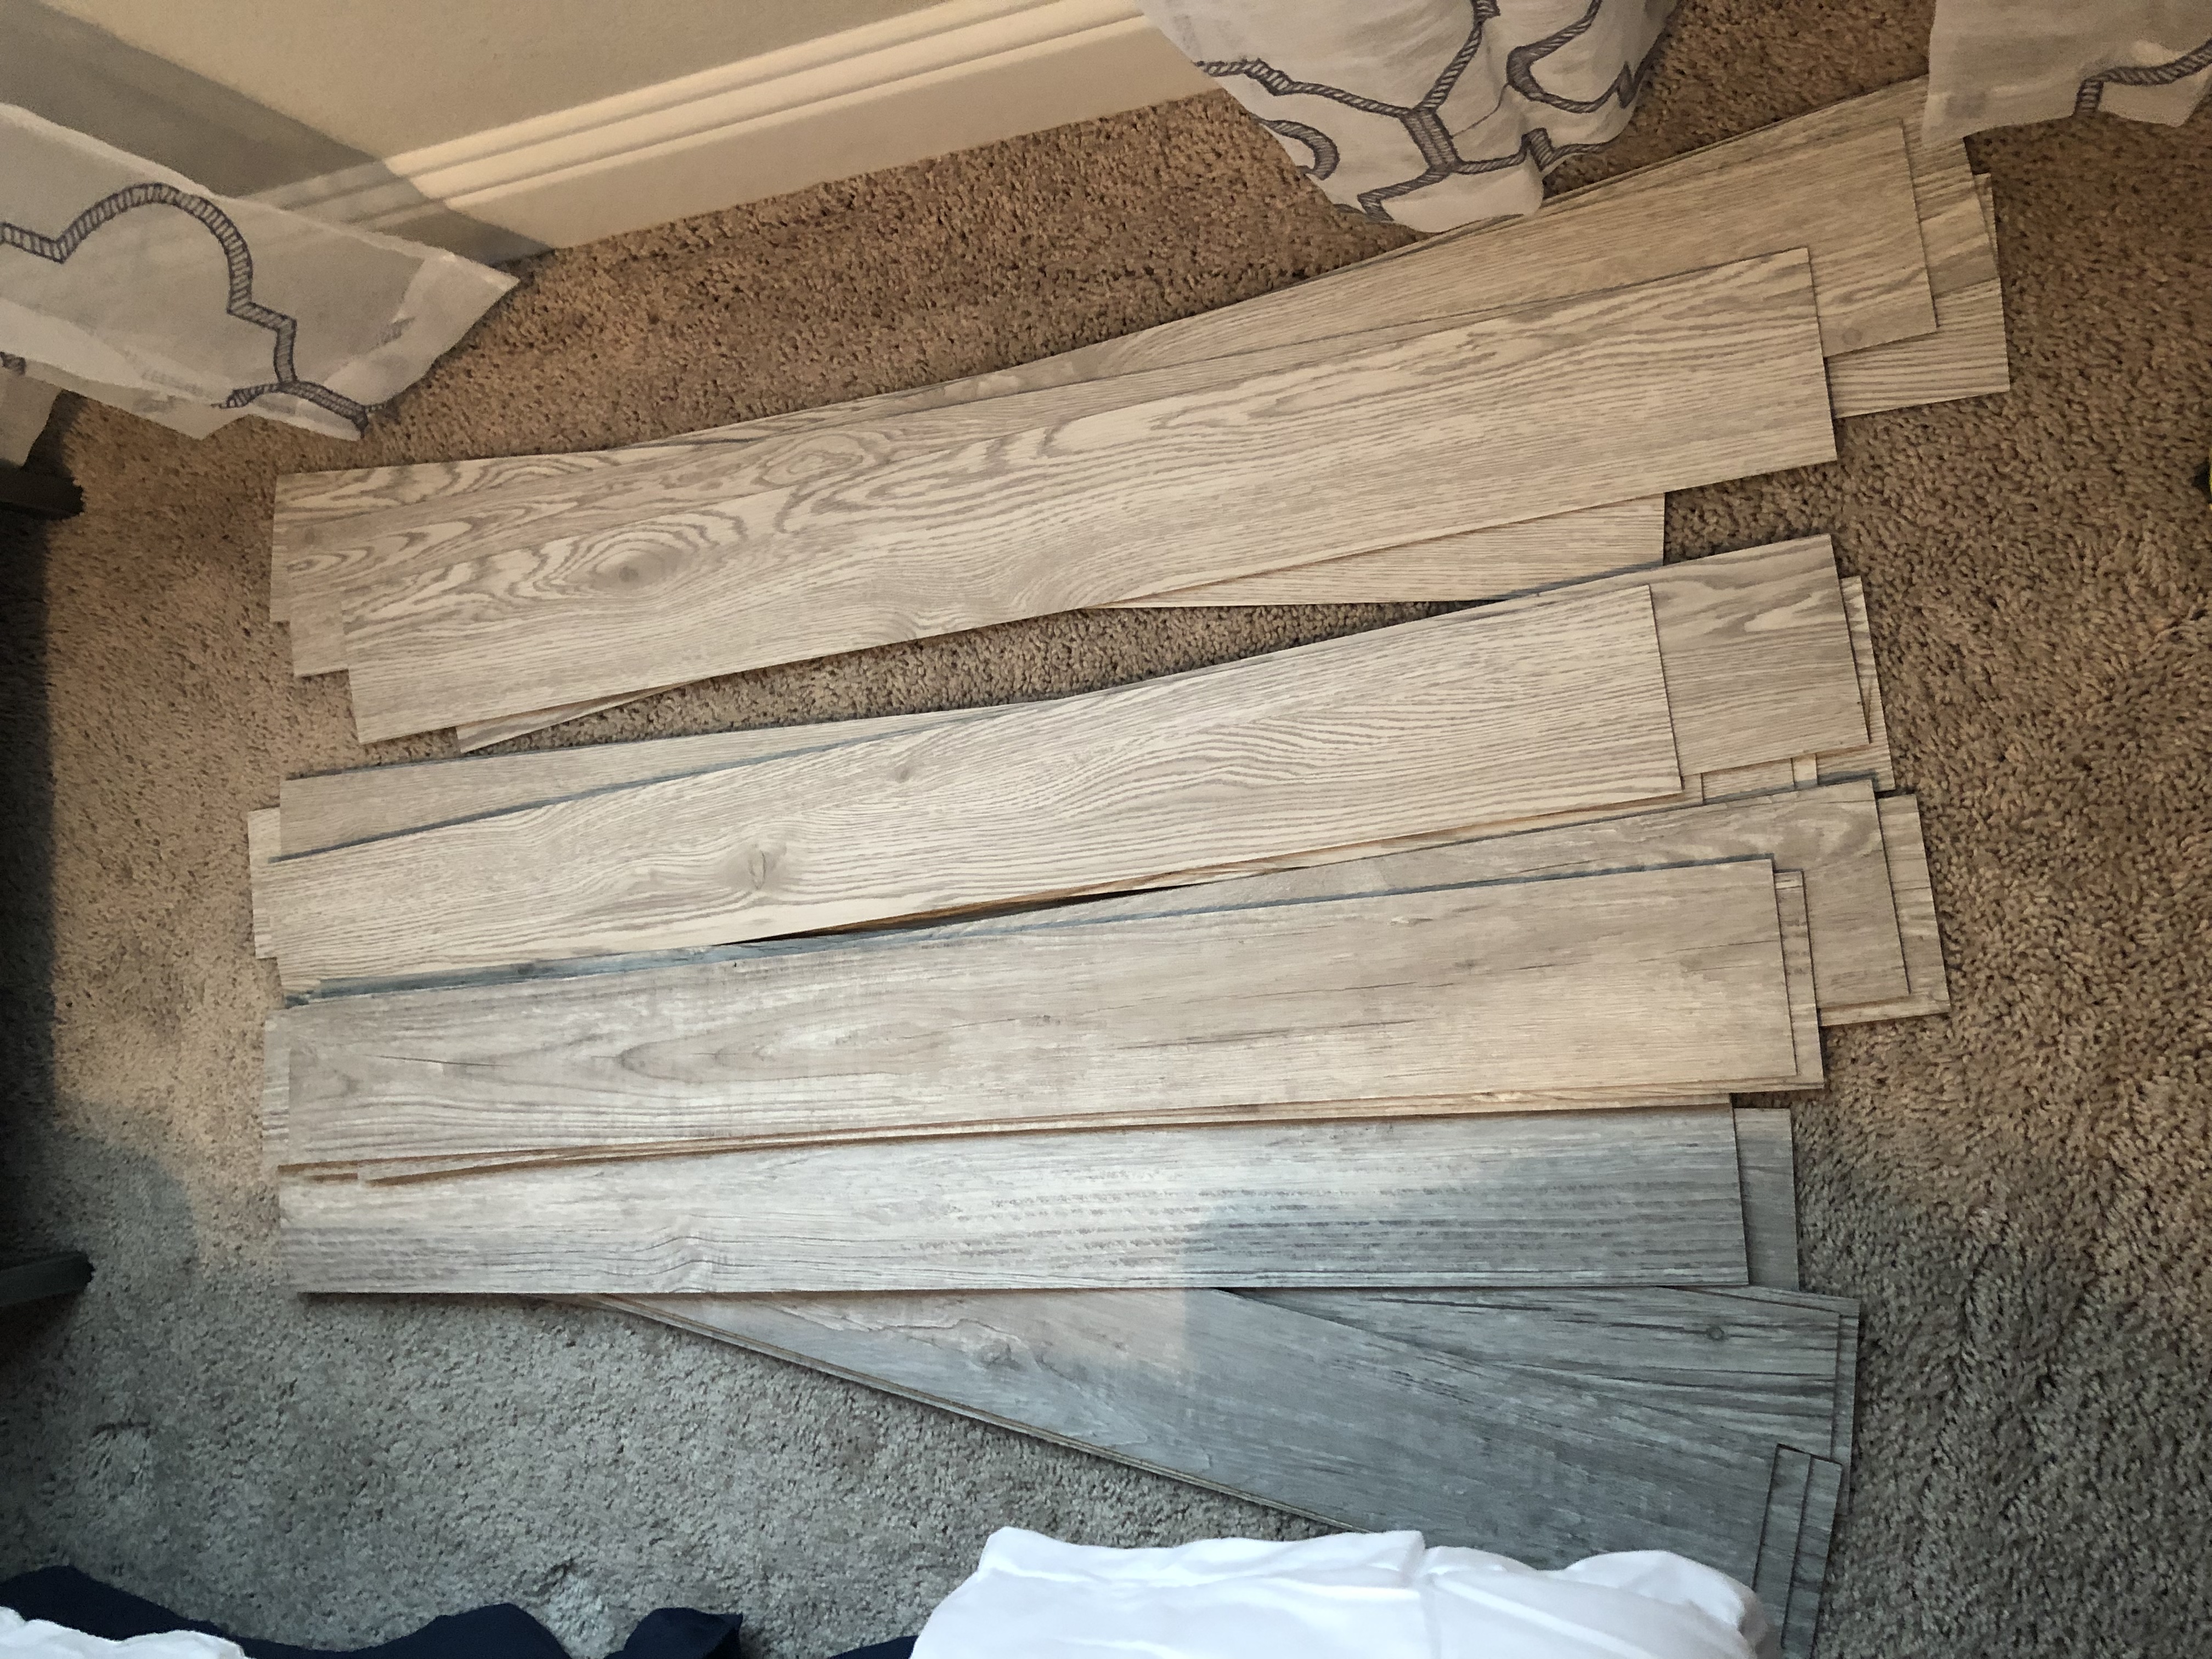
Color Piles
I started at the bottom of the wall and worked my way up to the ceiling. I started by removing the paper backing and stuck the plank on the outer corner of the wall and continued to add the full planks across the bottom of the wall until it came to a point where I needed to cut one to fit in a smaller space. Before I cut any of the planks, I used measuring tape to figure out the length I needed and used a pencil and a straight edge from another plank to draw a straight line and used heavy duty scissors to cut. A utility knife or a paper cutter will do the trick as well. Once I started the second row of planks I staggered them to create a little variation from the first row and continued to do that with each row and switched the color every two planks or so.
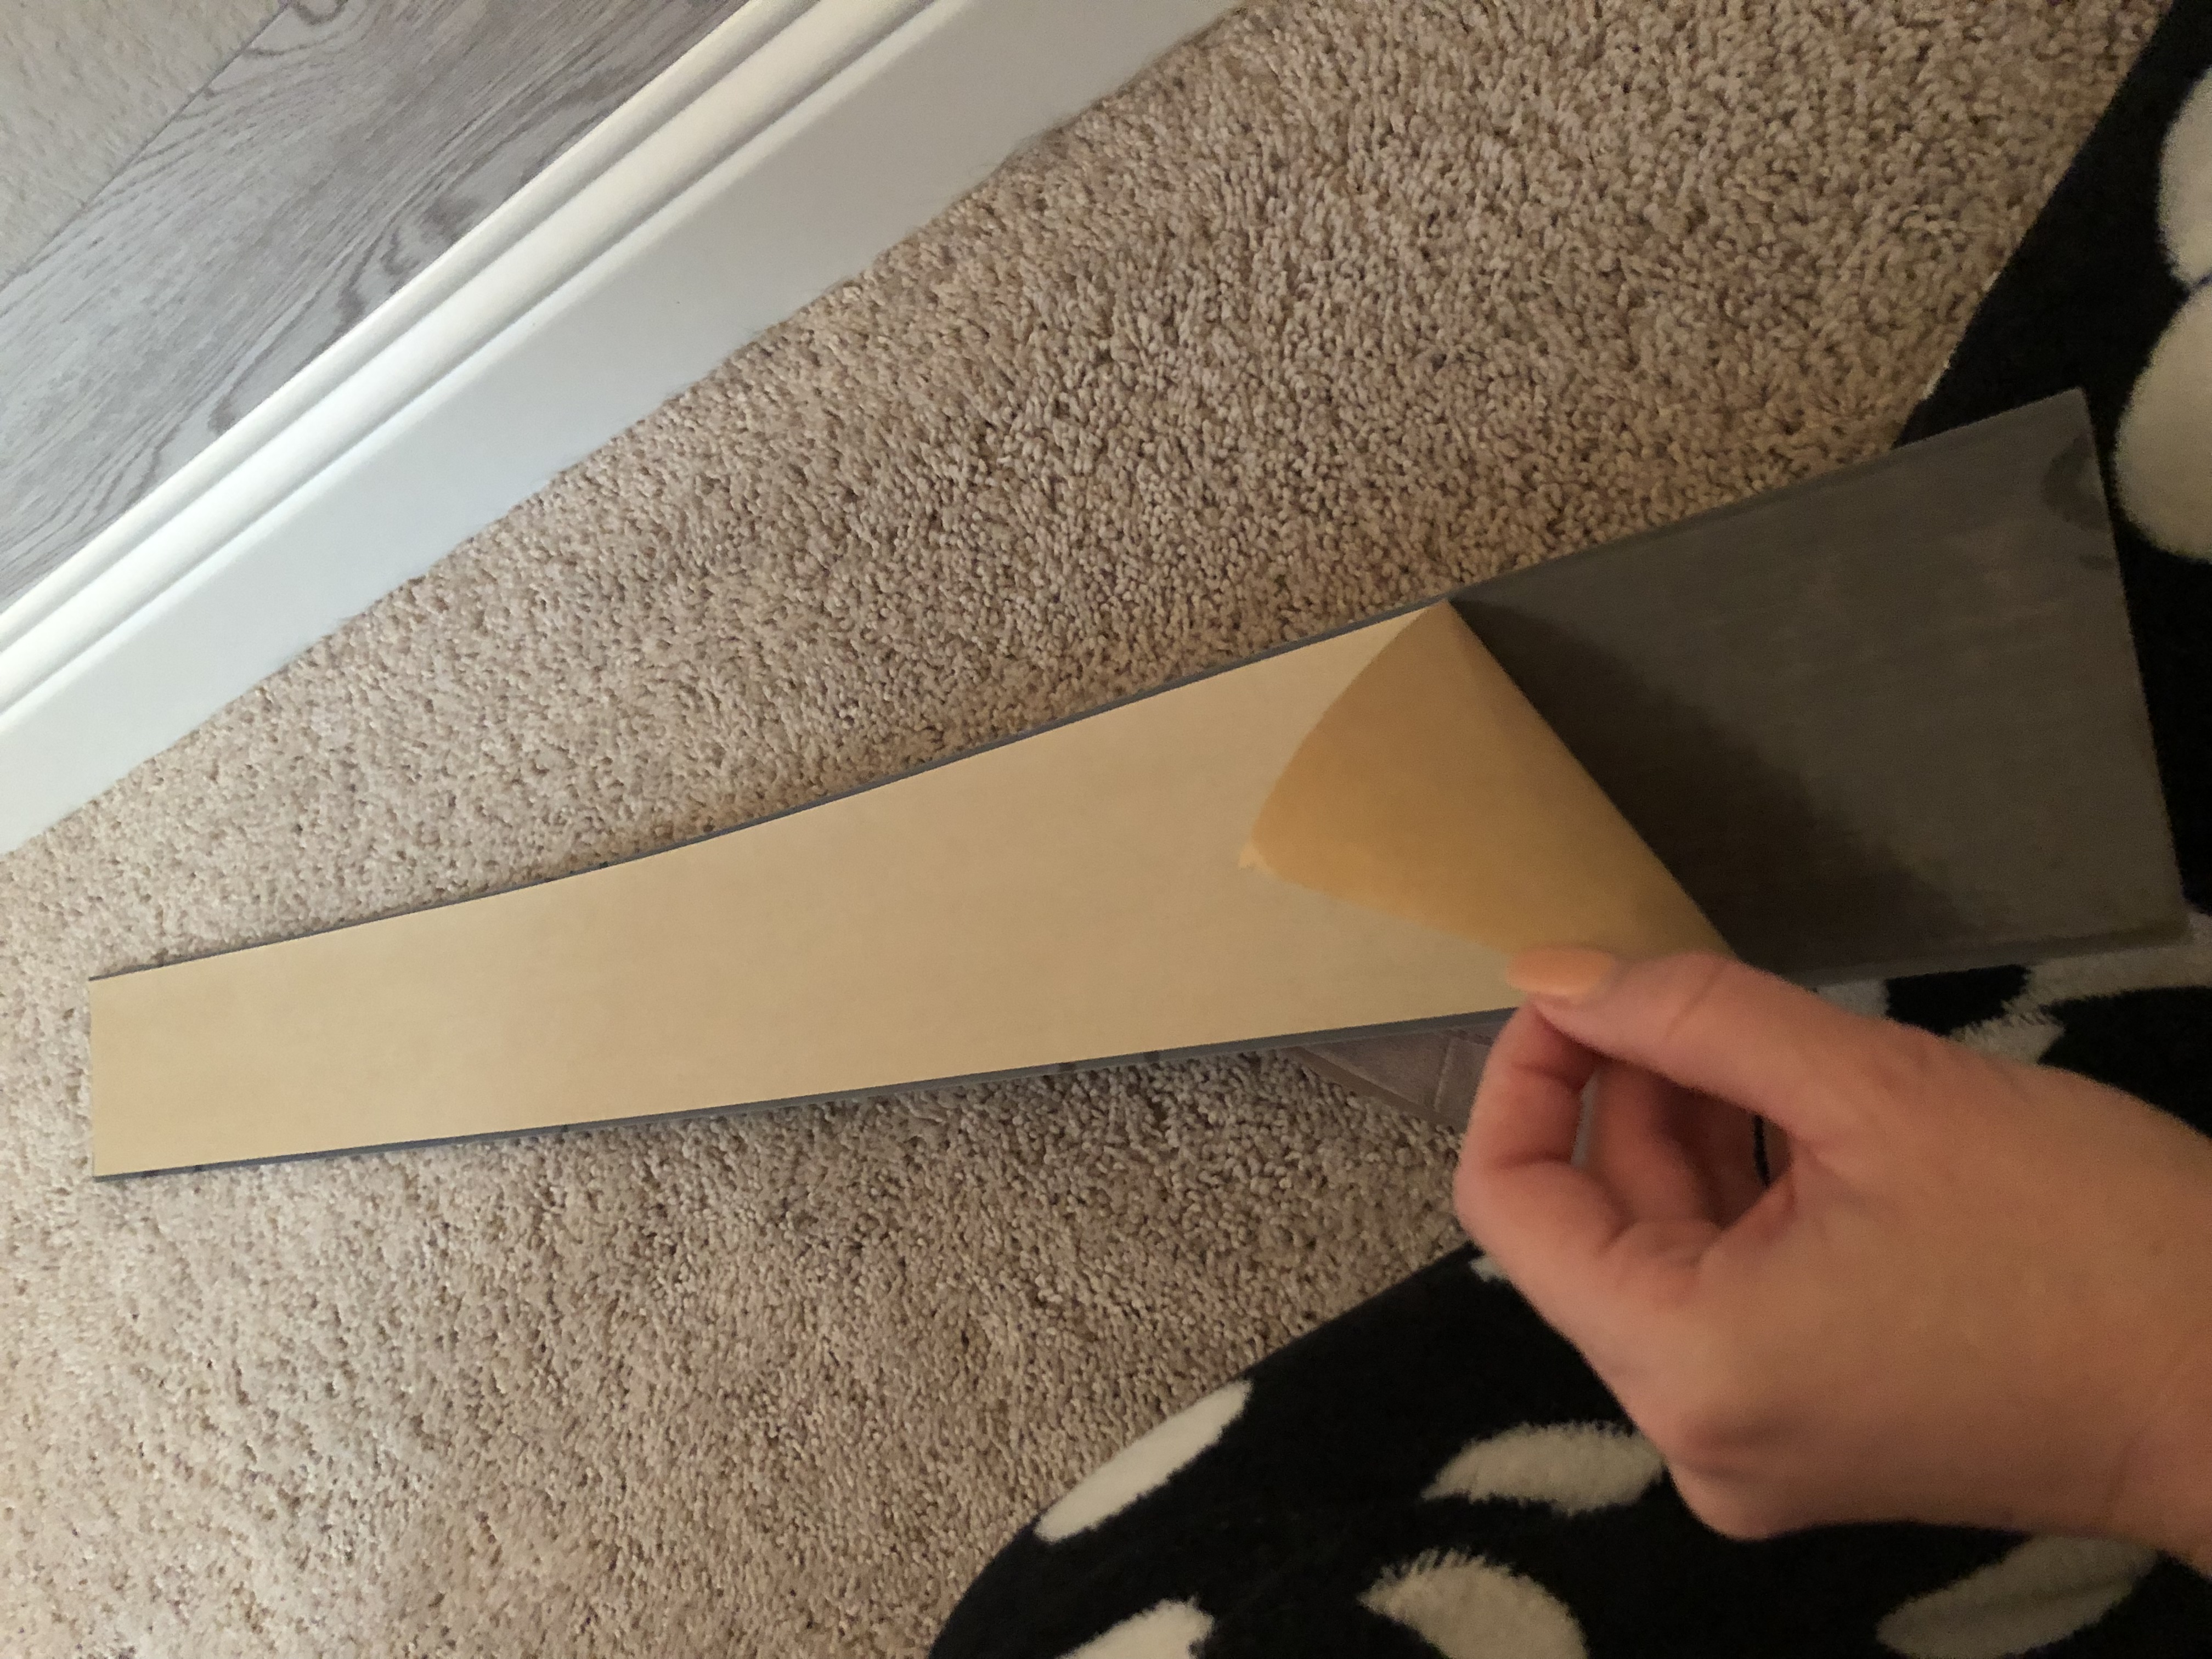
Removing the paper backing
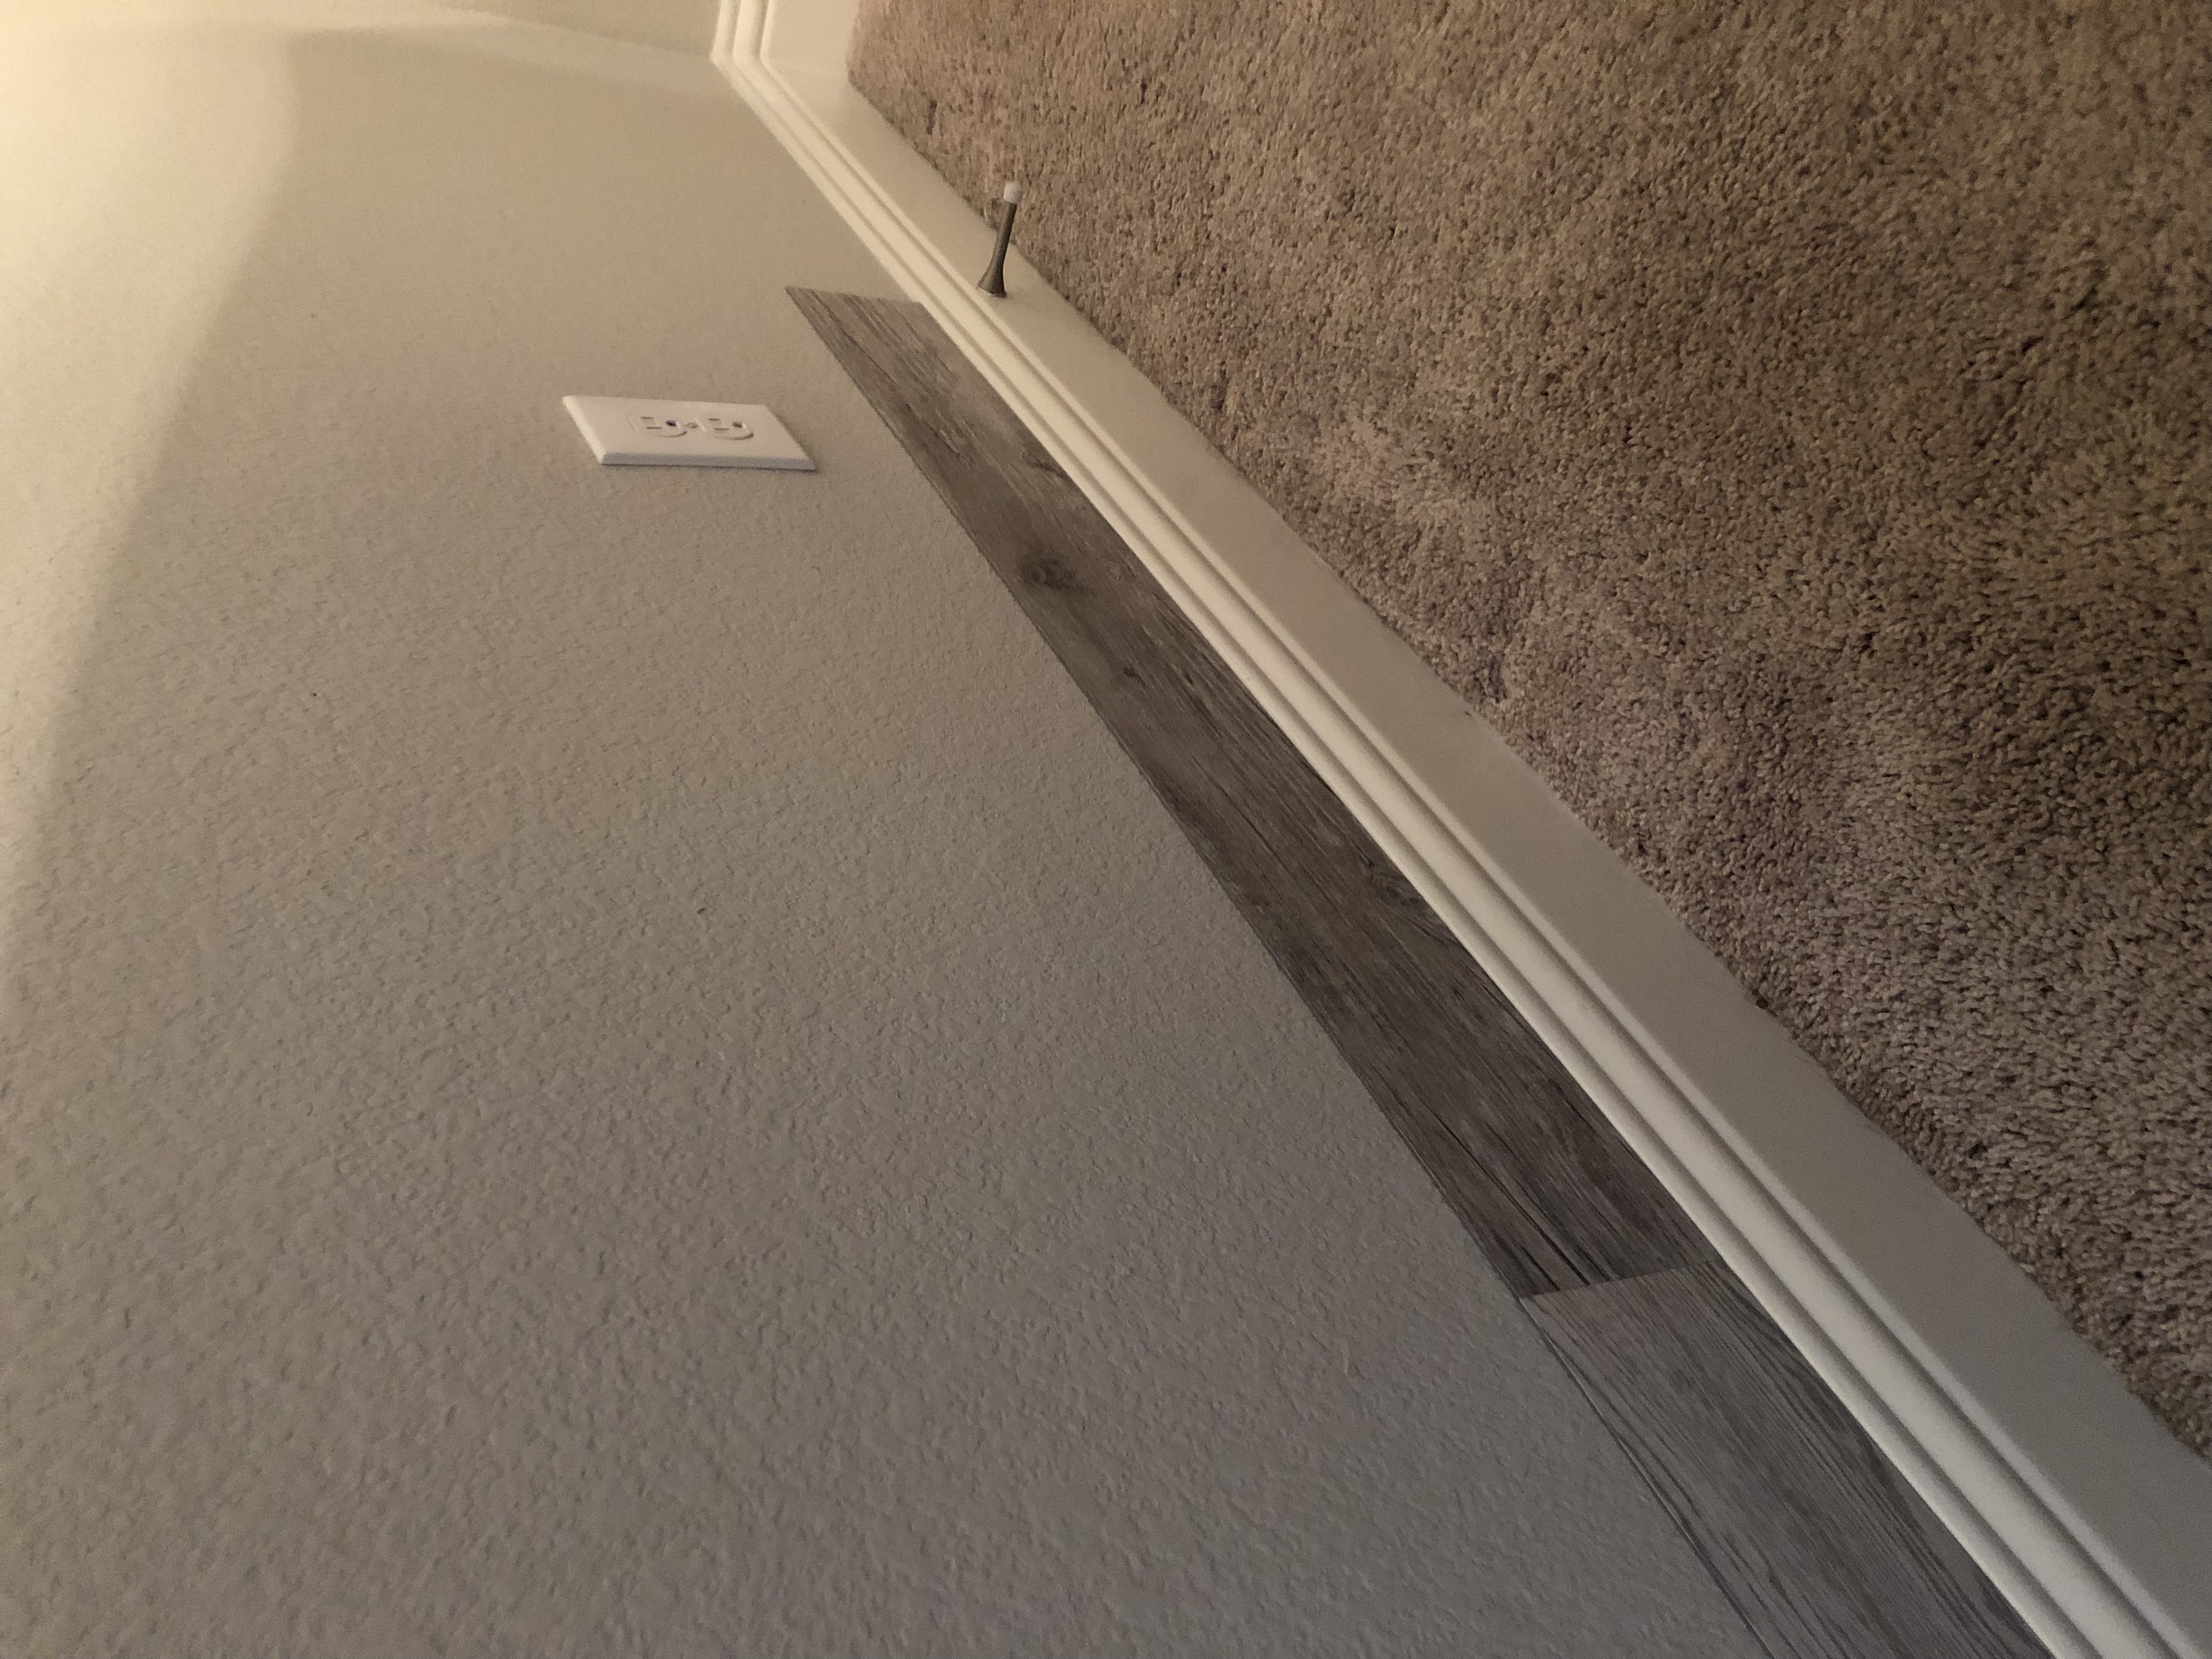
The first row of planks
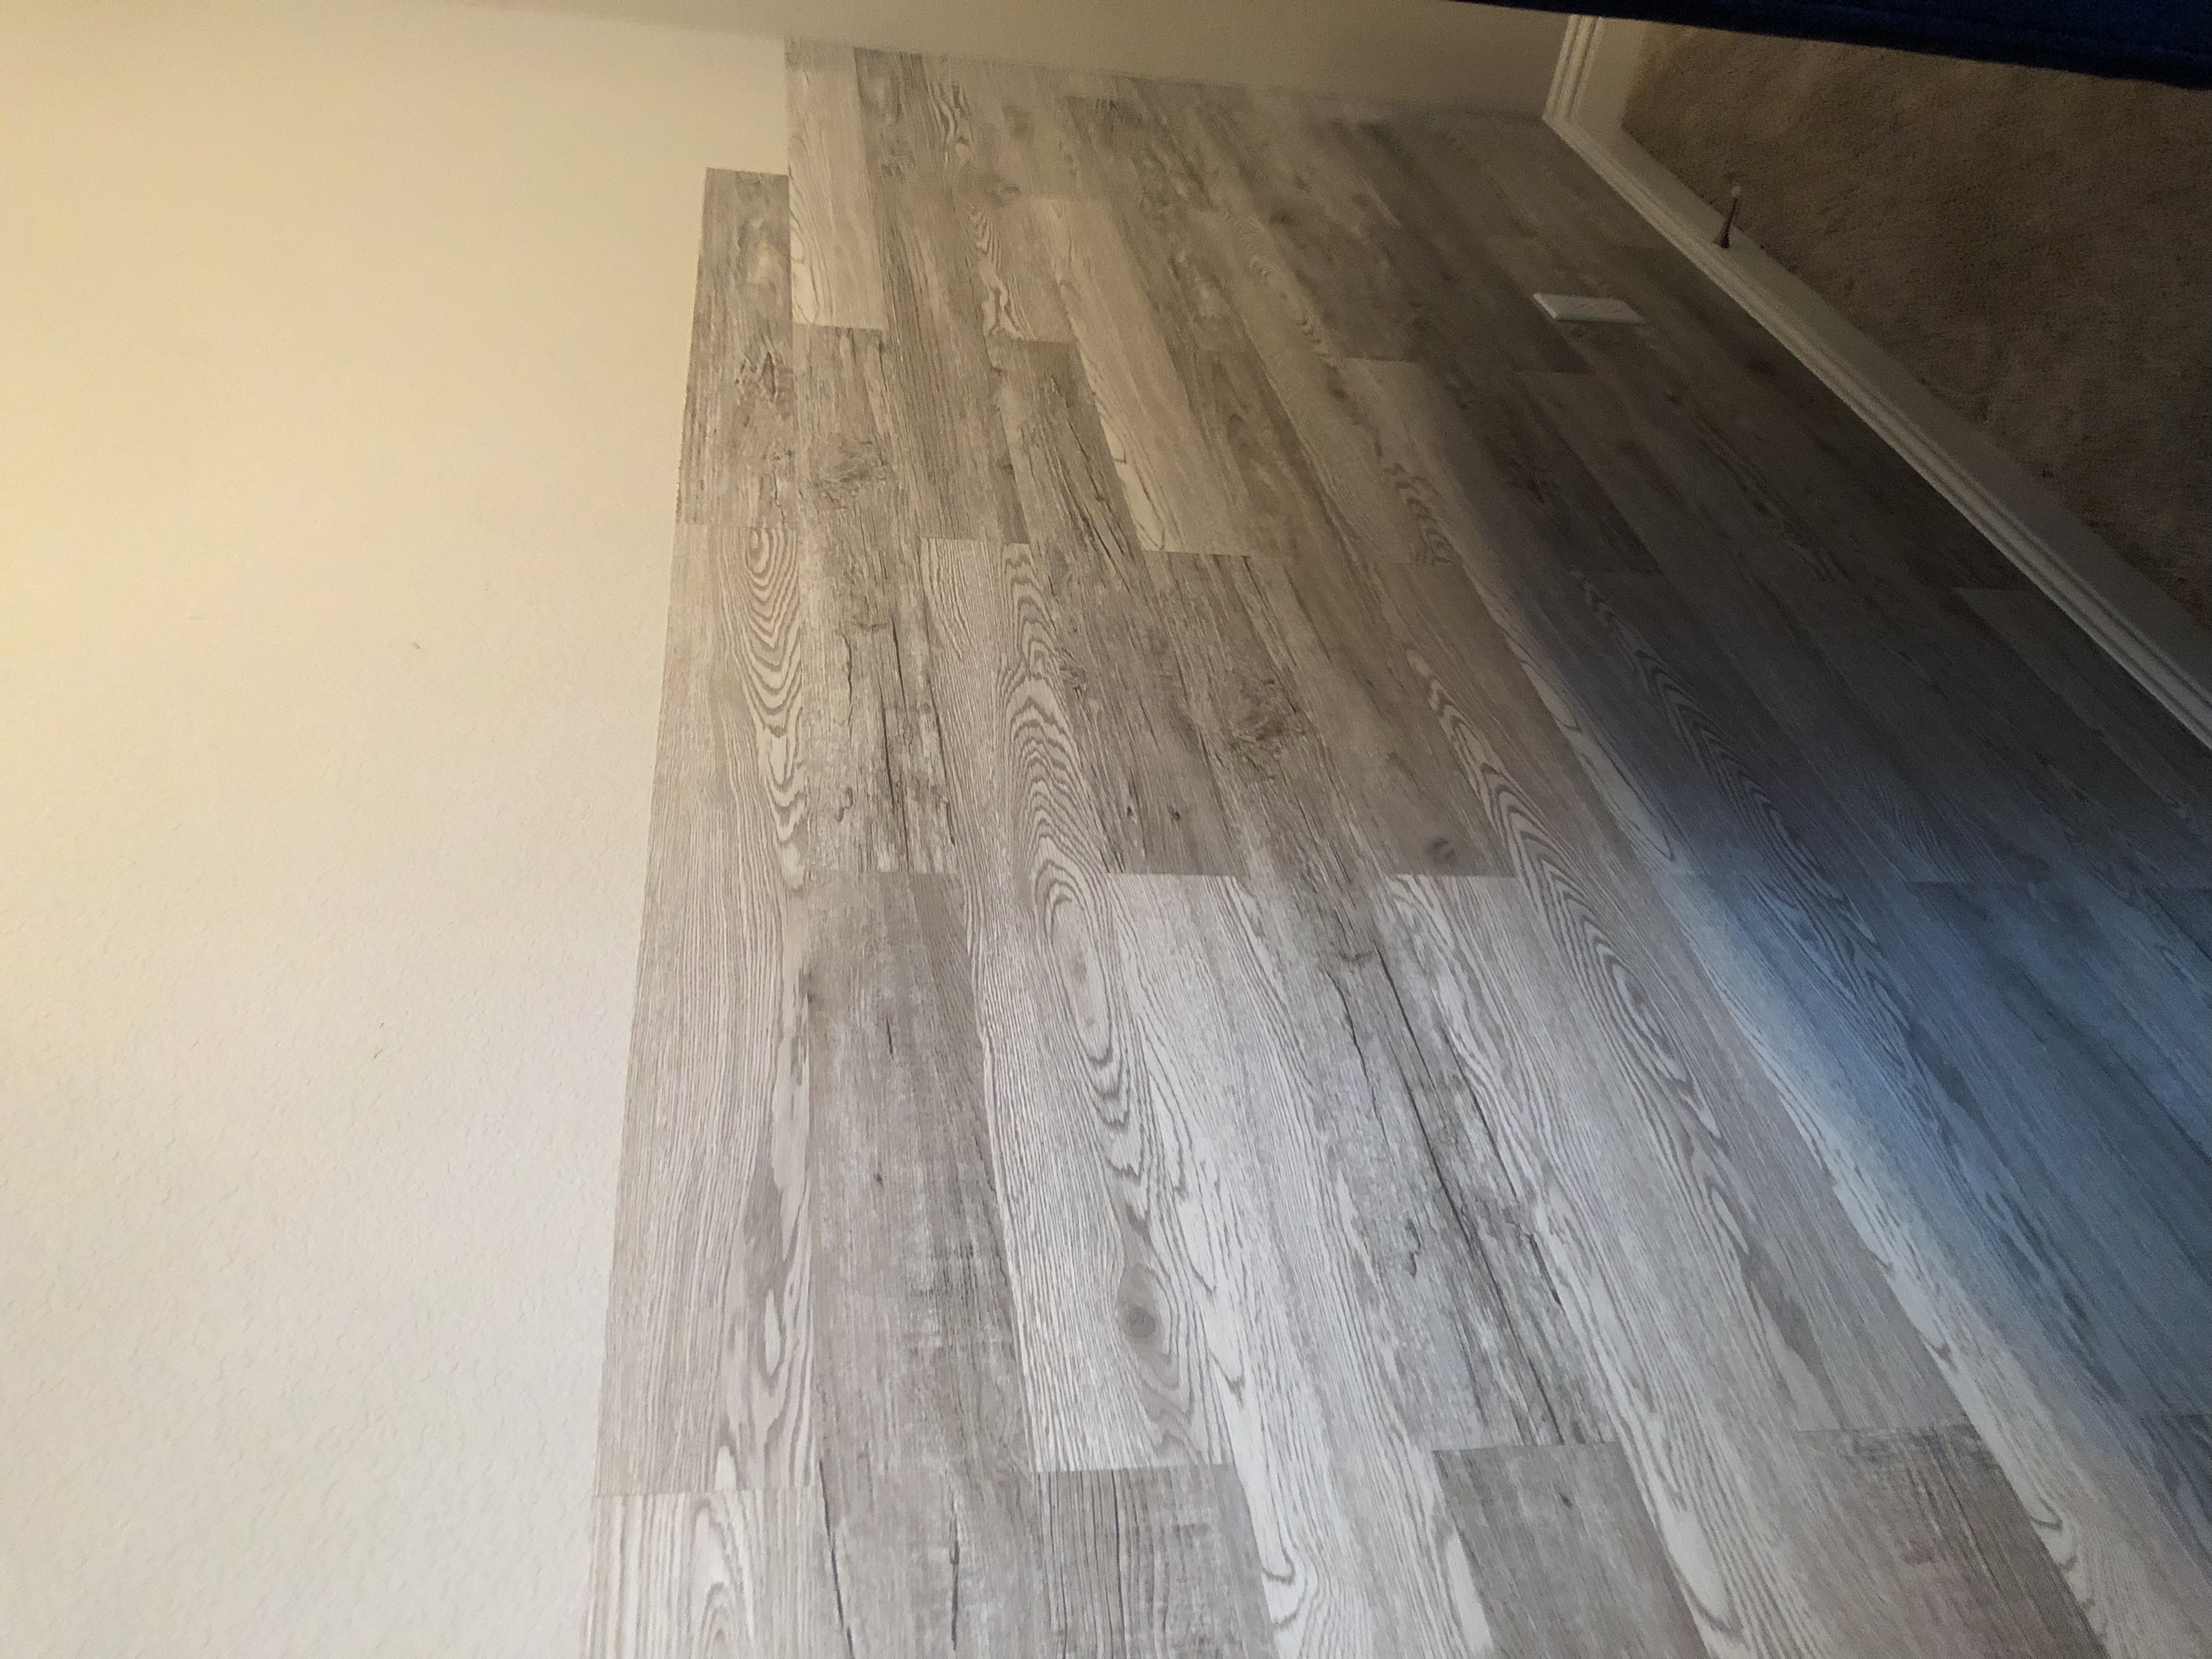
Staggered each row and alternated colors
The most difficult part of the process was cutting around the electrical outlet and cutting pieces to fit a slanted corner of the room. In order to cut around the electrical outlet, I unscrewed the outlet cover from the wall and put the plank in the space without sticking it to the wall. I then placed the outlet cover over the plank where it was supposed to screw in at and traced around it with a pencil so that I knew where to cut the plank. Once I made the cut, I stuck the plank on the wall and then screwed the outlet cover back into place. For the corner pieces, I used the paper backing of a plank that had already been used and placed it in the spot where the corner plank needed to go and bent the paper into the shape that the plank needed to be to fit in the spot. I then took the paper and placed it over a new plank and traced in the corner shape with a pencil and then cut the plank and stuck it on the wall. Once I got to the last row at the ceiling, I wasn’t able to fit the full width of the plank so I measured the width it needed to be and cut the planks horizontally in order to fit in the space at the ceiling.
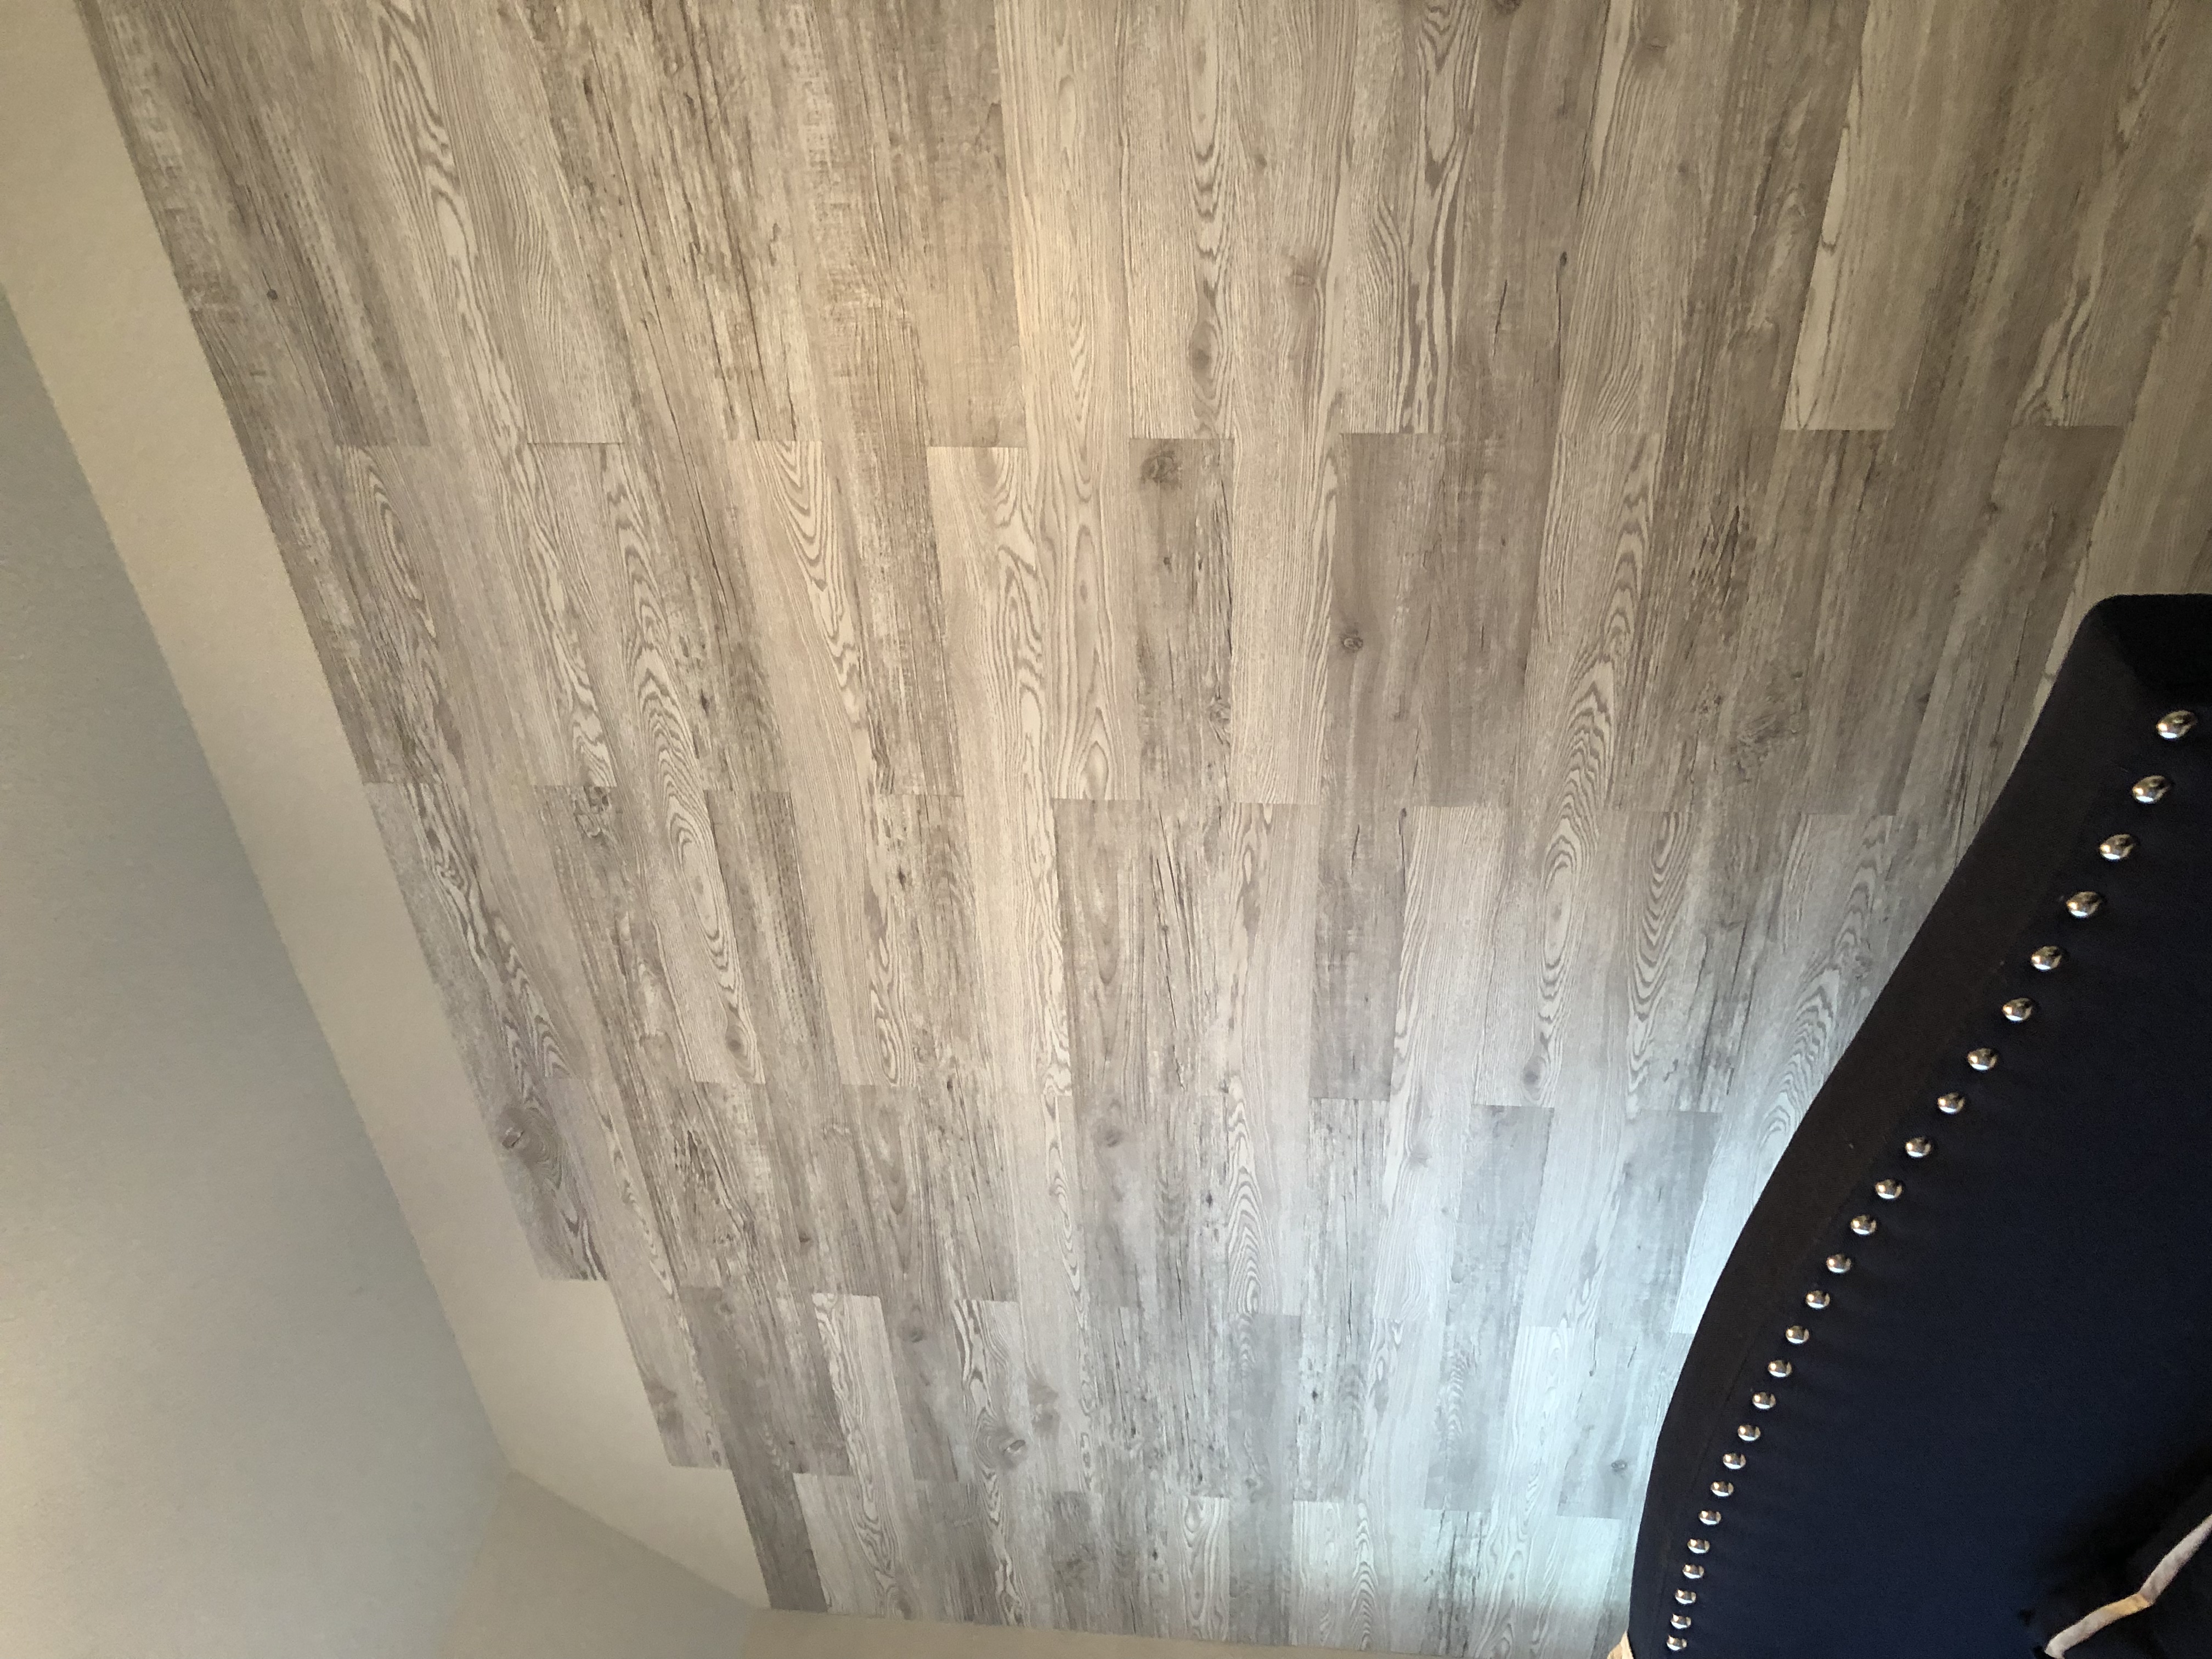
Before cutting the slanted corner pieces
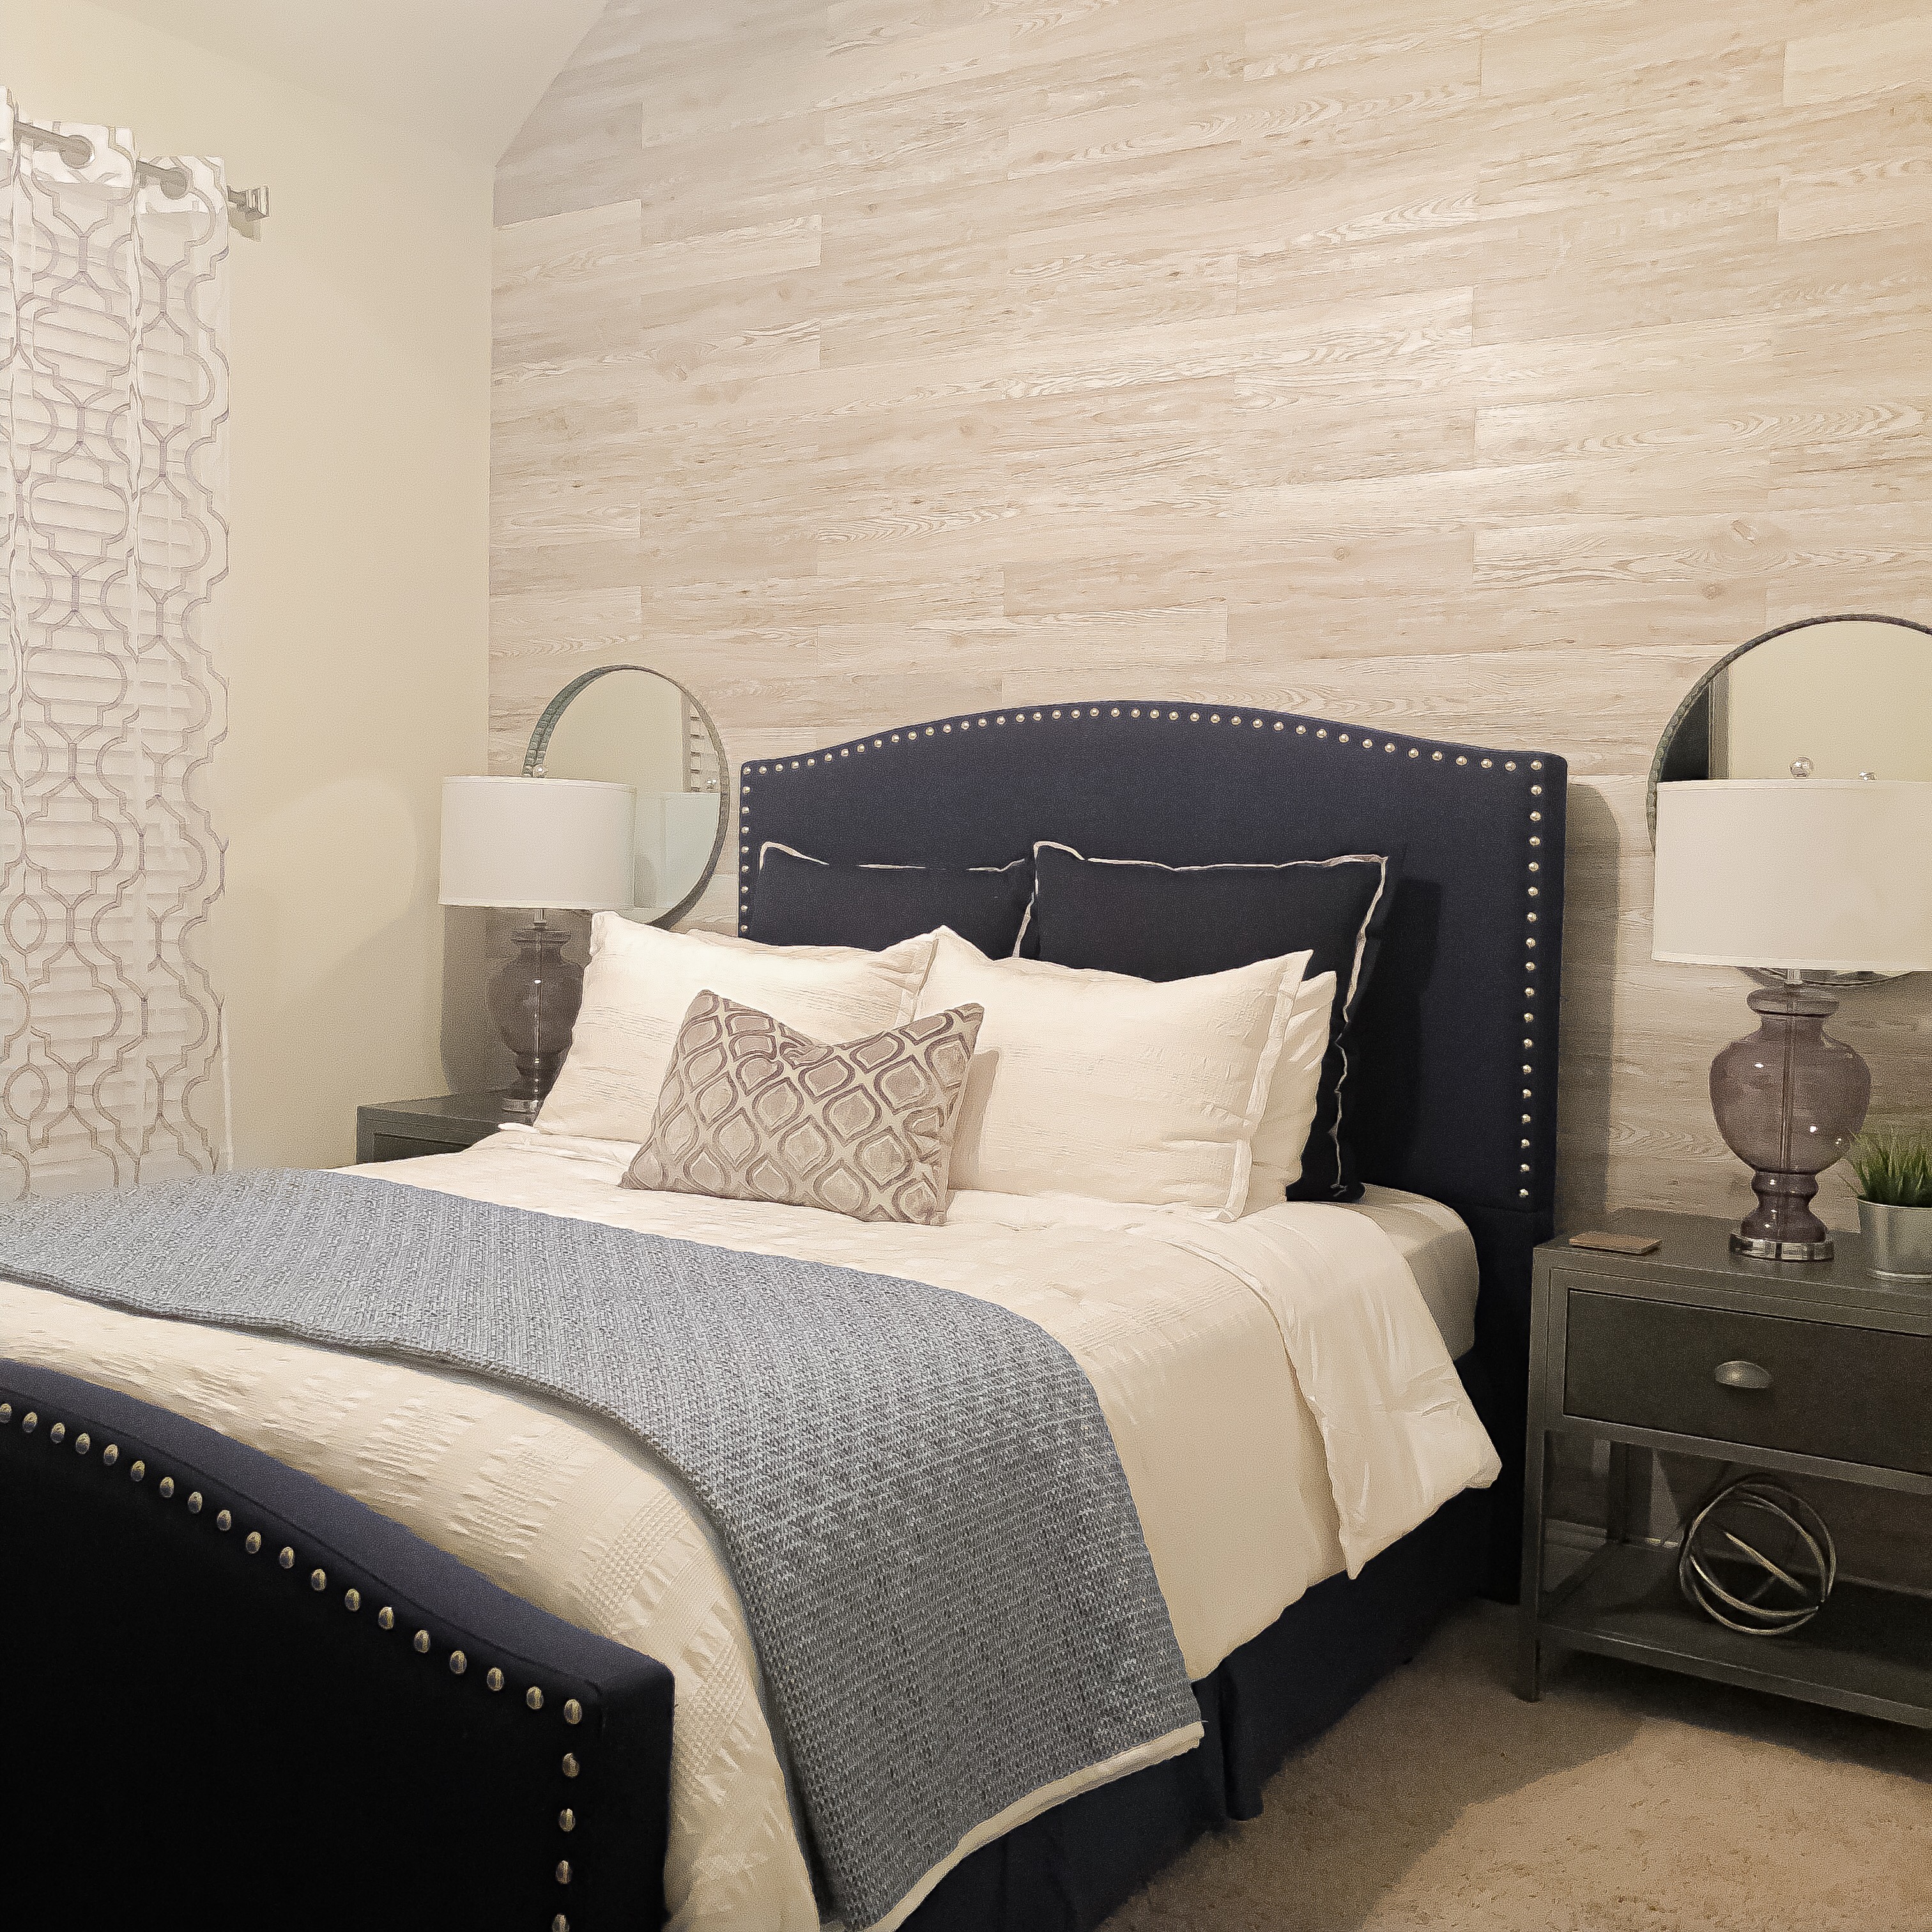
Completed Project
Overall, it was a very easy process, a great DIY project and I am so happy with the outcome!
Thank you for visiting my blog; I will be sharing the full details of my guest bedroom refresh very soon!
Links to the E-Z Wall Peel & Stick Planks are below.
♥️ Talisha
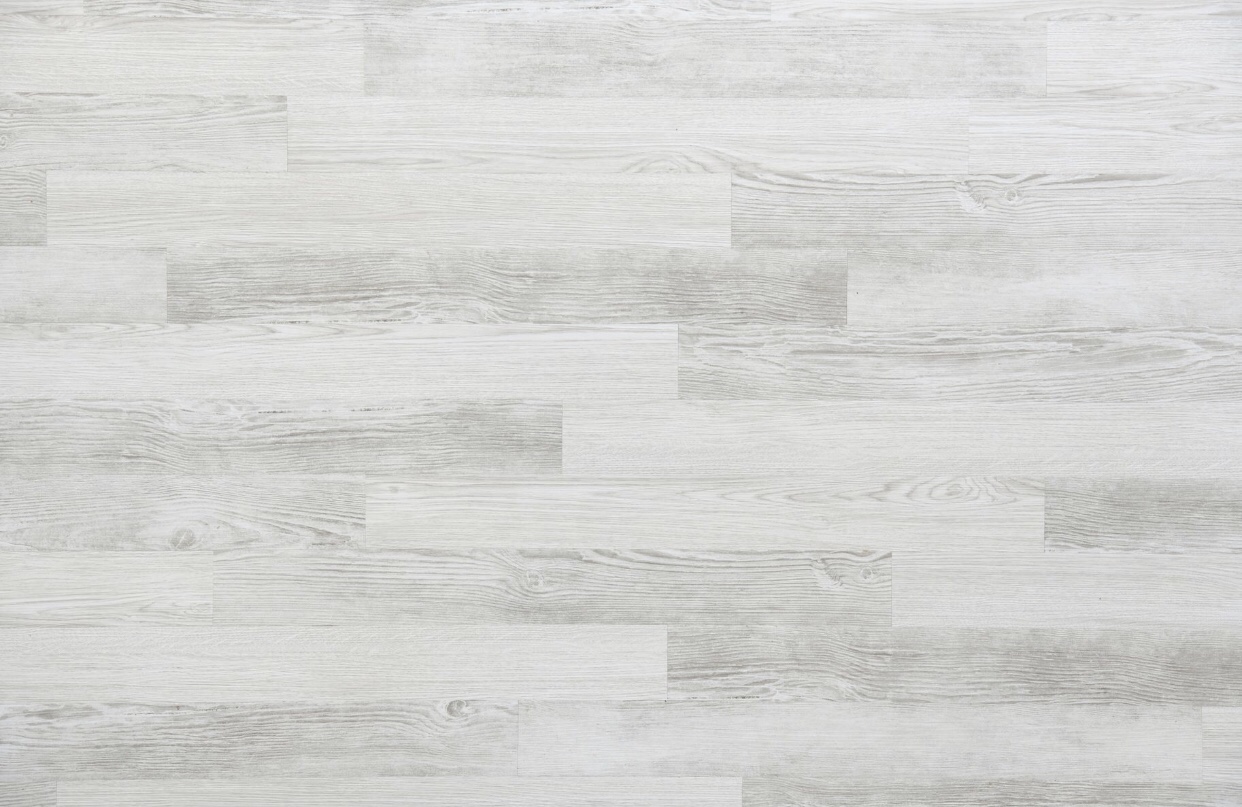 EZ Wall Peel & Stick Planks